
Archive for the ‘Polar Lights’ Category
Polar Lights Model Kits: 1966 Batmobile Update
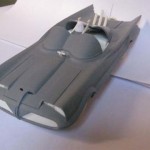
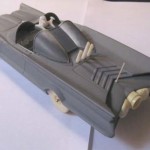
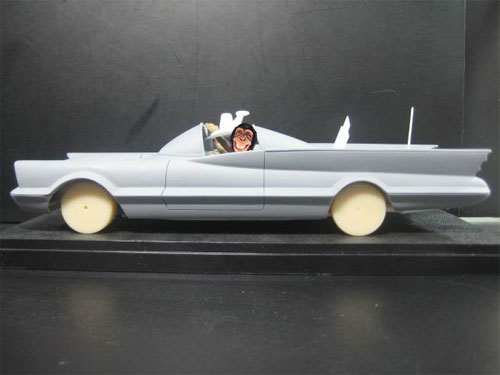
I showed images a while back of our Batmobile mockup. Unfortunately my stream of consciousness writing distracted some folks from the real point of the post- showing pictures of the Batmobile mockup.
Anyway, I figured I’d give an update. The step after the physical model is for the factory to scan the mockup into the computer. The files generated are then used to cut the steel tooling for the kit. Sometimes the digital model is done first as was the case of the Enterprise Refit. In the case of that model, the physical mockup was made from the files. I’m guessing the choice to make a physical mockup of the Batmobile was due to the way I delivered my instruction. Looking back, I supplied the details of the car as best I could but in the end it was kind of piece meal… or at least I think it might have been perceived that way. (either that or it was just information overload)
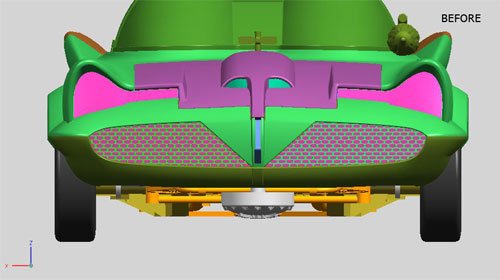
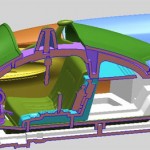
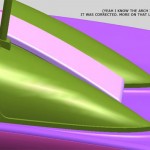
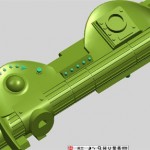
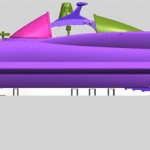
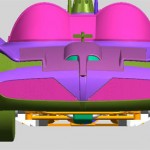
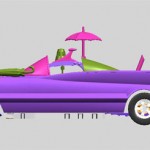
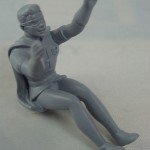
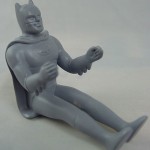
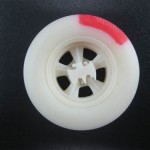
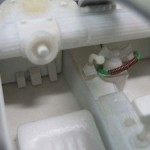
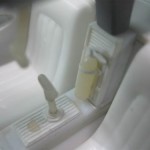
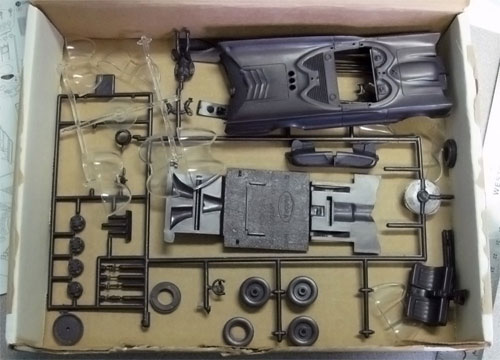
Once I saw the digital file, I figured that some more tweaking could still be done and be done easier than if I had asked them to change the mockup by hand. I had some edges rounded such as the window frames. This stage also showed a bit of misunderstanding about the track width. Oddly enough, the distance between the tires on the snap kit was accurate but for some reason, the glue kit’s tires had become separated too widely. This was an easy enough correction make though. Things like correcting the turn signals on the dash were a breeze. Probably the most significant last minute catch was the front wheel openings being way too wide. I’m not sure how that had been missed before. The front wheel opening on the real car is significantly wider than the rear but I felt this went way overboard. It was easy to spot in the computer-generated images because they were almost orthographic views. I was able to tighten the opening up a little bit. I also made the tires a touch bigger to fill the wheel wells according to the look of the ’66 period. One cool thing they showed me was a cutaway of the car. I knew how the parts went together but it was still cool to see so I figured I’d give a peak at it. Btw, pay no attention to some of the spoilers shown of some parts to be included in the deluxe version of the kit later next year. I’ve got just a few more elements of that kit to finish then the whole Batmobile project will be buttoned up. The tooling for the snap and glue kits is being cut right now.
Polar Lights Model Kits: Rolling out the Batmobile!
The 1:25 scale 1966 Batmobile was one of our biggest new kit announcements last year. We were thrilled to sign the license and motivated to get started on it right away. We brainstormed ideas on how to get the most out of the subject and put our plan into motion to put out a kit that would give the subject its due. It was a kit most people thought could never be done… but we were up to the challenge.
It seems like the only thing we can depend on around here is that a project will take longer than expected or hoped. The nature of the problem is simple, we are working with partners overseas who are on the opposite side of the clock form us, (most) don’t speak the same language and were not brought up on American pop-culture. How does that cause a delay?
Time difference- means little direct communication. It takes a full day to turn around an answer to any question from either side.
Language barrier- though the CS reps we email to write English very well but if I word something strangely or if I’m not giving direction clearly enough, there is a breakdown in our game of telephone. I tell them, they tell someone else who does the work.
Pop-culture- anyone familiar with our products knows of them inside and out. They grew up looking at books, magazines and TV shows. The people working on our projects overseas have never seen or heard of the Batmobile let alone a Bat-ram. (The CS girls took great delight seeing for the first time how Batman handles being dipped in the ocean on a rope ladder with a shark biting his leg when I showed them the DVD on my trip in earlier this year)
After tons of emails, pictures of the mockup, hair lost and weight gained, we end up with something that looks like something we know and here we are rolling out the Batmobile. Originally, we hoped to have it out last Spring. Then it got pushed back to Christmas time. And here we are pushing it back to early 2011. It should hit stores in February now. But I’m betting no one cares about the long sob story and you just want to see the pictures. Well, here ya go…
The 1:25 scale 1966 Batmobile snap kit
Polar Lights Model Kits: I Might Have Lost My Head…
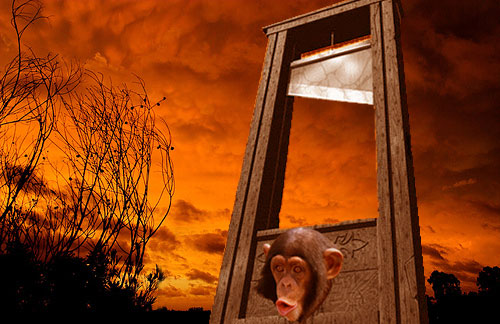
Not a meeting would go by without a certain someone mentioning bringing back the Polar Lights model kit of the Guillotine. We in the product development department had a difficult time wrapping our minds around how to “freshen up” the kit. What more could be said or done with a kit of a wooden death machine?
As we discussed other subjects like bringing back the Hunchback and Munsters Living Room kits, we decided to follow our formula used on the Witch kit last year. All of these kits had been brought back under Playing Mantis and packaged in the standard long box format so why not make the packaging part of the point of difference? Including additional glow-in-the-dark parts added an additional fun twist that stayed true to the Aurora tradition. In the end we threw the Guillotine into the mix for a “glow box” treatment.
Besides the packaging and glow parts, we figured we’d throw in another fun bit that took a baby step away from the vintage kit. Instead of using a peg to attach the head to the “victim’s” body, we eliminated in lieu of a couple magnets placed in the head and body. Now the kit really works reminiscent of the miniature toys the children of the time played with. (How I long for the days when decapitating pigeons was considered child’s play)
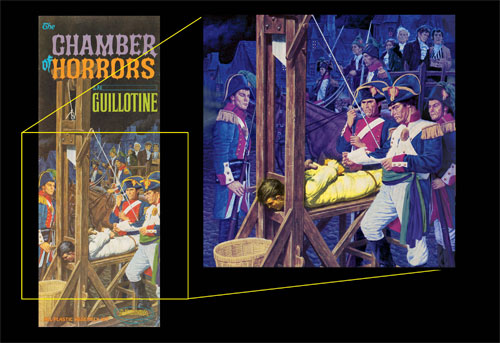
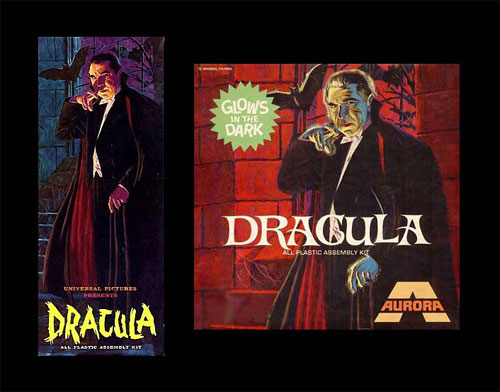
Anyway, back to the packaging. Most of you reading this are familiar with how un-named artists “re-worked” James Bama’s classic box illustrations which some would say were the strongest selling points of the original kits. A documentary shown at Wonderfest this year gave a great account of this happening. I felt outrage and heartbreak viewing that part of the film. Artwork was added to the sides of the illustrations to account for the space needed to make a square box out of a tall, narrow box. In addition, each illustration was painted over to key each one to a certain color scheme and indicate a yellow glow effect over certain elements.
Skip ahead a couple of months. We got a message from the factory that the packaging artwork would be due within the next week. We hadn’t forgotten the project but more or less put it off for other urgent projects. We hadn’t been in a hurry to do it because we knew we’d have some work to do to make the idea work and really had no great idea of how to accomplish it. So push came to shove and I sat down to figure it out.
We needed enough interest on the sides to fill out the scene but also be able to see the all-important guillotine (at least the important parts of it) and be able to put the title of the kit in the center of the box just like all others. I found that by enlarging some of the background elements, I could fill space with what was already there. The most difficult matter was finding something to fill space in the lower right quarter of the box. Painting in two halves of two soldiers had been no easy feet but I found enough empty room in a space where nothing but another soldier made sense. I knew I had a certain amount of skill with photoshop but how could I come up with a guy that wasn’t present in the illustration to begin with and have it look like he had been hiding off screen the whole time. I ended up picking up one of the guys I had and adjusting it from there; borrowing a cheek bone from one, changing his hairline including adding sideburns, altering the uniform slightly and changing his hand position. If you didn’t already know the difference, you’d probably never know. As with the other glow boxes, I knew I had to give it a color scheme shift. That was difficult for me to wrap my head around. I had spent almost a week straight being sure I got everything to match especially the color and had it nice and brilliant enough to look like a fresh piece of art. I copped out a little and used the original background to guide my color choice, going with a neutral blue.
It wasn’t until I was half way through this that it dawned on me… What I was doing and what I had become. A lot of time and work had come and gone since seeing the Aurora documentary back at Wonderfest. I became regretful that I was one of those nameless artists who painted over a great piece of artwork done by one of Illustration’s masters. This wasn’t what I had ever been about. I love classic illustration. I can trace my art training pedigree back to Howard Pyle and here I was bastardizing another person’s artwork. It took me a while to realize I was stuck in the middle and had no choice than to forge ahead. The only way I found to somewhat justify myself was to say, “Well, at least you’ll do it better than those hacks did back then”. That rings pretty hollow just to right it. What can I say? I’m a hypocrite just like 90% of everyone else on the planet. No one (well, hopefully not many) tries to be but every now and again we find ourselves doing something we know we shouldn’t, something we’d tell other people not to do. I’ll live with it and move on and try not to do it again.
So, my apologies go out to James Bama. I’ve got nothing but respect for you and your body of work. I hope to never do it again.
I was about 90% done with reworking the artwork when it dawned on me. “You know what have really made this kit special? Getting James Bama to adjust his own artwork to make the illustration square.” Maybe next time…
1966 Batmobile Model Kit: Wonderfest Count Down. 1…
Whew! Wasn’t this year’s Wonderfest a great show? I can’t wait to see you again next time.
Wait… what… I dreamed it all? Well at least it wasn’t a nightmare like Bobby Ewing coming back from the dead. (That was a great Family Guy episode) All right. I was going to tell you about the 1966 Batmobile model kit.
First, we’ll be showing our 1:32 scale 1966 Batmobile. It looks like some retailers at the show will have the basic kit available for sale there. Feel free to ask me about the delays in the kit. It turned into quite an epic story.
We’ll also be displaying our Classic Batmobile™ Collector’s Edition tin version of the kit. I’ve tried describing the kit but any explanation falls short. You truly have to see it to appreciate it. I know not all builders care about anything that says “collectible” on it and I’m not going to try to convince you otherwise. I just know that this product really turned out nicely.
Lastly, if the stars align (and UPS cooperates) We’ll be showing the full mockup of the 1:25 1966 Batmobile glue kit that will be out next spring. A simplified snap version that uses some of the same parts will be out before the end of this year. I’ve really done my due diligence on this model to make sure the details are done right. The mockup is dialed in at about 90% complete. I’ll be reviewing the mockup for the factory to see if there is any work left to be done before proceeding. Stop by and take a look to see what you think.
This week’s previews only touch on some of the high points of the show for us. Feel free to stop by and ask questions about these and other projects like the Star Trek Movie: New Enterprise, Enterprise 1701B and the 1:350 Enterprise (like I need to give you permission to ask…). We’ve got these kits and more in the pipeline.
Polar Lights Model Kits: Wonderfest Count Down. 4…
Okay, I was in a hurry yesterday and went with an inspired thought and released news I had hoped to save for later in the week. Oh well. Here’s what I should have led with yesterday. (More Trek stuff later this week)
Some of the stuff we’ll be showing off at this weekend’s Wonderfest show will be more improved Polar Lights Model Kits re-releases. Among them are…
The Munsters Living Room. We are offering this kit in a square format glow style box just like last year’s Witch release. If we have a glow style box, that must mean the kit will come with optional glow in the dark parts. Actually, there are so many optional parts that we had trouble getting everything to fit. Some parts fit issues and wide seams have been improved for this release as well. This is kit is a great companion to our upcoming Munster Koach and Drag-U-La collectors tin release which we will also be showing off. The tin itself is a great piece of work but it also comes with a booklet with images of the cars as well as other gruesome goodies.
The Hunchback of Notre Dame. Not to be confused with his cousin the Bellringer, this release will also be given the glow treatment. Another added touch is new nameplate for the kit.
The Guillotine. This is one of Tom Lowe’s favorite kits. Just like the Munsters and Hunchback, this kit will also feature a glow box with optional glow parts. In addition to that feature, we’re making a couple minor tweaks to the tool and including some magnets so the kit can function like the real thing. Watch you fingers…
Bigfoot. Not the truck (yeah, we’re bringing that one out too) but the “real” creature. This is a classic AMT kit that was available in the mid seventies. It features snap together assembly and just like the original version includes glow in the dark parts. The box will be the square glow style. (do you detect a theme going on here?)
So those are our planned figural kits for the rest of the year. Stop by at the show to see our buildups and check out the new packaging.
Round 2 Model Kit Preview- iHobby
If I said our workload here at Round 2 is unbelievable right now, that would be an understatement of epic proportions. I barely have time to write this blog entry. I promised myself it would get done last week. Anyway, here it is now.
I just have minute to tell you about the Round 2 model kit preview we have going on at iHobby. We will be releasing our plan for the first half of next year. We’ll be bringing out around 50 kits by the middle of 2010. Around 20 kits will be genre (sci-fi/ pop culture) kits. Some have been mentioned in passing before and of course many have not. This just sets us up for a great 2010 with many more high profile releases to come later in the year. We’ll also be releasing our first print catalog showcasing all of our model kit brands.
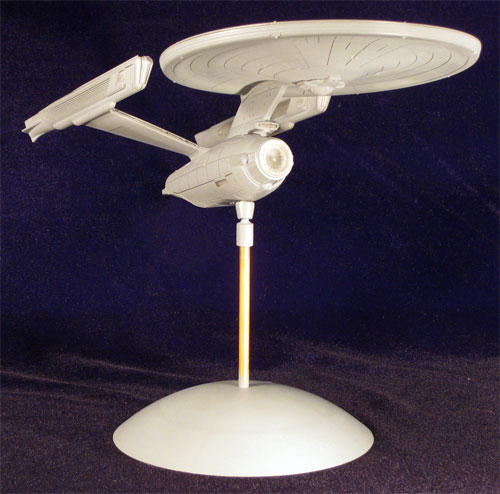
Amidst our display, we will have a built mockup and hopefully a built test shot of our new 1/1000 scale Enterprise Refit. I hope to see everyone come out and take a look. To add to the incentive of just coming out and taking a look, I’ve got something special for a lucky sci-fi modeler- a test shot to take home of the new Refit kit. The only catch is that you have to write a review of it here and everywhere else on the internet that sci-fi models are discussed. So how will I know who to give it to? Just reply to this post. I’ll draw one of the names from the posts. Cut off for sign up will be Friday morning (when I leave for the show- no hard deadline so sign up sooner than later) You must be present to win Sunday at 1:00cst at the show.
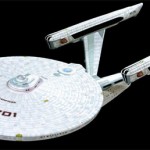
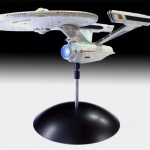
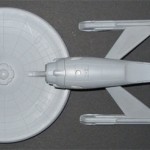
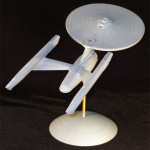
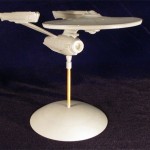
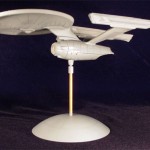
I’m showing some pics of our finished mockup. It turned out well for being cast in all opaque resin. The decals you see are prototypes and will be tweaked to lighten them considerably. Notice the strongbacks are greenish gray, that’s why we keep calling this one the “Refit”.
http://www.ihobbyexpo.com/Consumer.html
Polar Lights model kit update: Enterprise Refit
Sorry I haven’t posted for a while. Things are pretty busy in Round 2 land. We are gearing up for our company preview in the Dallas Toy Fair as well a s iHobby coming up in October. I’m not sure whether I will make it to the show but everyone in the Chicago area will probably want to stop in and see what we’ve got coming up for 2010.
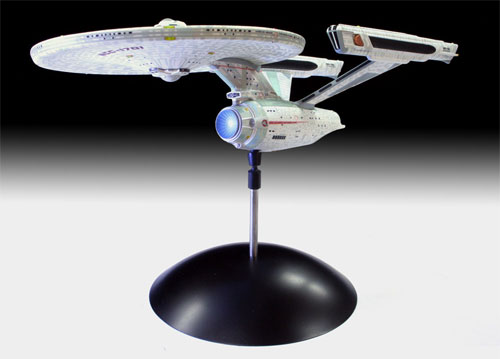
In the meantime, I just got in a revised mockup of our new Enterprise A Polar Lights model kit. The tooling is already underway but we needed this copy made up for our iHobby display. (if we are lucky, we’ll have a test shot on display as well) It is going right back out to Jim Small to be built up and painted.
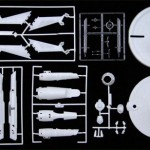
The kit is really turning out nicely. Many of the detail revisions I’ve ordered have been made. Dealing with a kit at this scale has been pretty tricky because unless you see it first hand, you don’t really know what to expect detail wise. In addition to detail revisions (deflector dish and panel lines to name a couple), I also had a few adjustments made assembly wise. The nacelle grills on the previous mockup were assembled from the inside of the nacelle similar to our 1/350 version. I’ve had this changed so that they are inserted from the outside. This should help with painting I would think. The arboretum windows are the same way. Actually the only clear parts that insert from the inside are the pieces on top of the saucer. Another little change I made from the 1/350 kit was to have the chiller grills (I think that’s what you call them- the copper colored half football shaped grills on the sides of the nacelles) be made separate pieces as well so they can also be painted separately and inserted after all other painting is done. I hope this helps you guys out.
DISCLAIMER: One of the pylons was bent in shipping resulting in the nacelle sitting crooked. Also, some gaps look big in these quick photos. This is because the kit hasn’t been glued together. The gaps will easily disappear in the hands of a capable modeler. Oh, and the clear parts were incorrectly cast in opaque resin. Other than that, this is what you can expect in the kit.
1966 Batmobile Model Kit
I’m sure you’ve heard of our plans to retool the classic 1/32 scale 1966 Batmobile model kit. We even went so far as having a mockup created to match the old kit. Well, our plans have changed…
This arrived on my desk recently. Can you guess what this means?
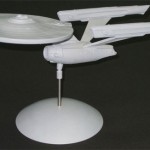
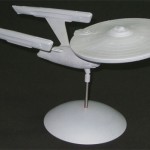
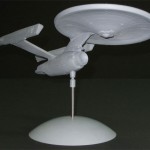
Star Trek models: U.S.S. Enterprise Refit 1/1000 scale
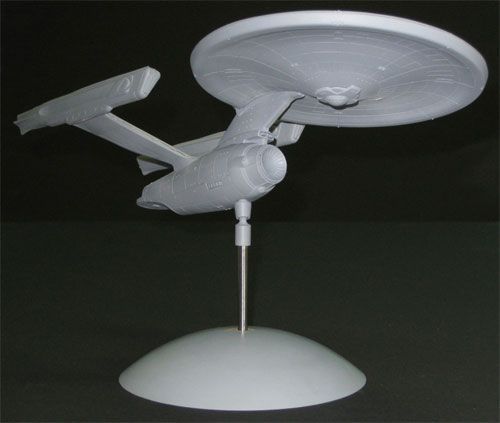
I have to admit, I’m hesitant to show this off. Not because I don’t want anyone to see it, but because I don’t want to hear any feedback at this point. The kit will undergo some revision before tooling that will correct some of the eyesores that may be pointed out. I’ll address a couple things up front but it is not a comprehensive list of issues. All issues are being ironed out as I write.
I’m sure everyone can see the chasm-like panel lines. I had the same reaction when I saw the images of the mockup come in from the factory. That is the primary reason I blurred the last set of images. After seeing it first hand, it isn’t as bad as it shows in a photograph. They will be worked on believe me.
The other huge issue to be resolved is the deflector dish. It is way too thick. I’m really not sure why it was so hard for the mockup folks to grasp. Like I said, it will be corrected. No worries.
The part breakdown will have a few revisions too but nothing that won’t be appreciated. Special attention is being paid to this kit from a painter’s perspective. I’ve tried to make it as paint friendly as possible given the size of the kit. I’m betting we will get some requests on these areas to revise the 1/350 kit to build the same way to make it easier to paint. These are the kinds of things we will really pour over in the development of our 1/350 TOS kit.
The mockup builds up great I think. If all goes well, we will have a U.S.S. Enterprise Refit 1/1000 scale buildup at iHobby in October.
Jinkies! We’ve been busy working on our Polar Lights model kits!
So, how’s it going for you guys? We’ve been incredibly busy around here and its tough keeping our heads above water. We’ve been finishing up lots of packaging and instruction sheets for upcoming Polar Lights model kits releases. I’ve missed having a chance to write about some of our recent developments.
We’ve been getting ready for a big sales presentation to our reps for all of our brands for next year’s products. It gives us a chance to fill them in on what we would like to do and get their input about our product. On top of that, we are putting together mini catalogs for inclusion in our model kits. We’ll be doing a full-blown print catalog in preparation for the big iHobby show in October. At that show, we’ll be unveiling our release schedule for the first half of next year. Needless to say, I’m pretty excited about our plans.
I’ve been giving final approvals on tons of test shots including the revised C-57D saucer sections which will now assemble to be a bit more sturdy and hopefully alleviate some of the edge warping that was prevalent in the earlier issue. Mr. Spock is looking good and he has a collar now. Finally, the UFO sprues now have part numbers on them.
(Literally) I just heard that our second run of 1/350 Enterprise refits just came in and half of them are going right back out to distributors. Grab them while they are hot!
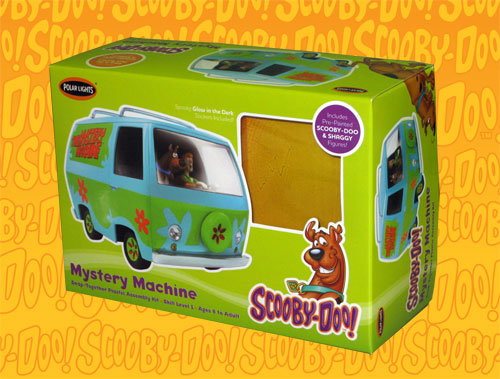
The thing I’ve been busiest with is the new Scooby Doo Mystery machine box and instruction sheet. I’ve had my hands in instruction sheets before but Bob usually handles the packaging. He says he really wanted to do it but he is juggling a lot. It was fun to do a package for a change. I had to deal with a licensor supplied style guide and we usually cringe at the thought. It wasn’t too bad in this case. Their new elements look pretty cool even though they aren’t as spooky as they should be. Rather than using as little of the style guide as possible, I actually used it to steer the rest of the design on the box sides, back and instruction sheet. I’m pretty satisfied with the results.
Well, back to work on to the C-57D instructions.

