
Archive for November 2nd, 2017
MPC Model Kits: Space:1999 Nuclear Waste Area 2 preview
Remember this…?
Ah those were the days… Boy, I wish I could come up with time to write more blog posts like that one… Wow, it was written just over a year ago at the time we were only considering what to do next. No sooner than we brought out our 22” Space:1999 Eagle Transporter kit, modelers took the opportunity to remind us how much they would LOVE additional environmental pieces to go along with it. Believe me, we knew it was coming and that we had some ideas to pursue when the time was right. Between the standard Passenger Pod version and our new Cargo Pod version, we ciphered through the list of ideas and landed on an environment set that could be used with either kit.
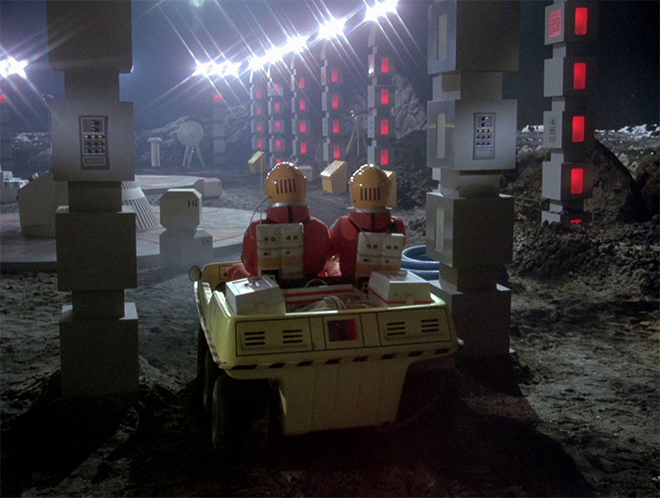
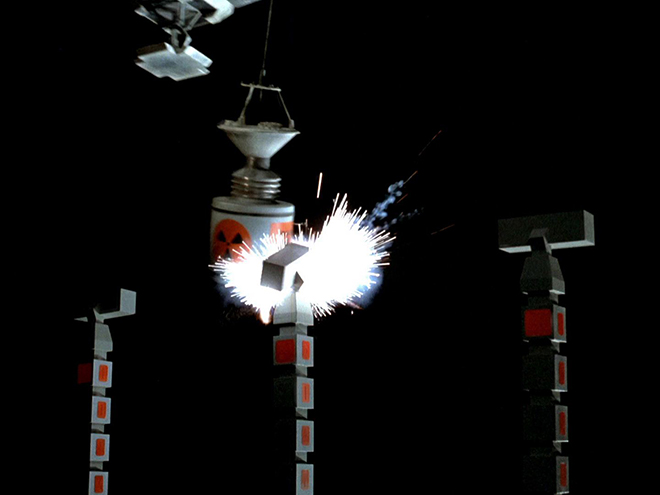
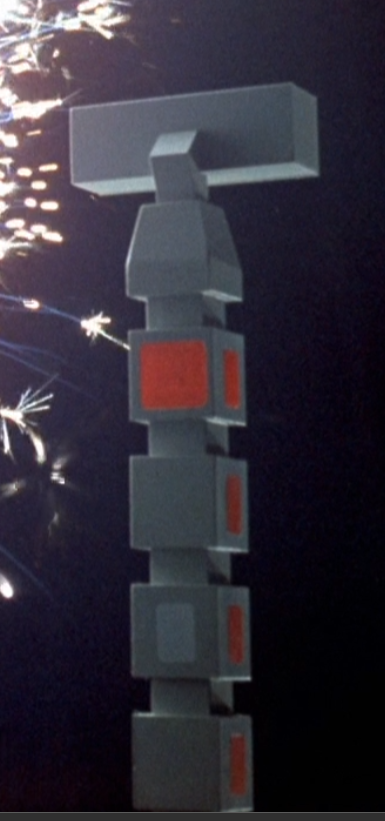
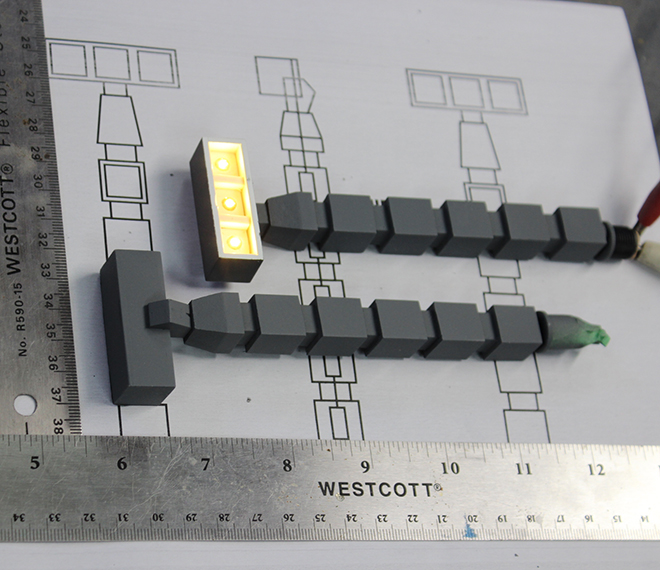
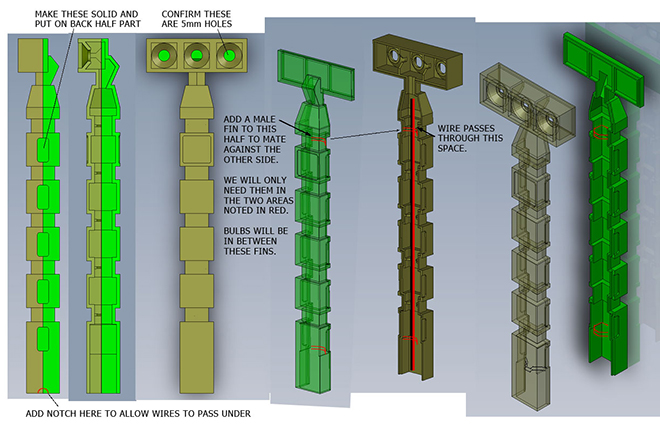
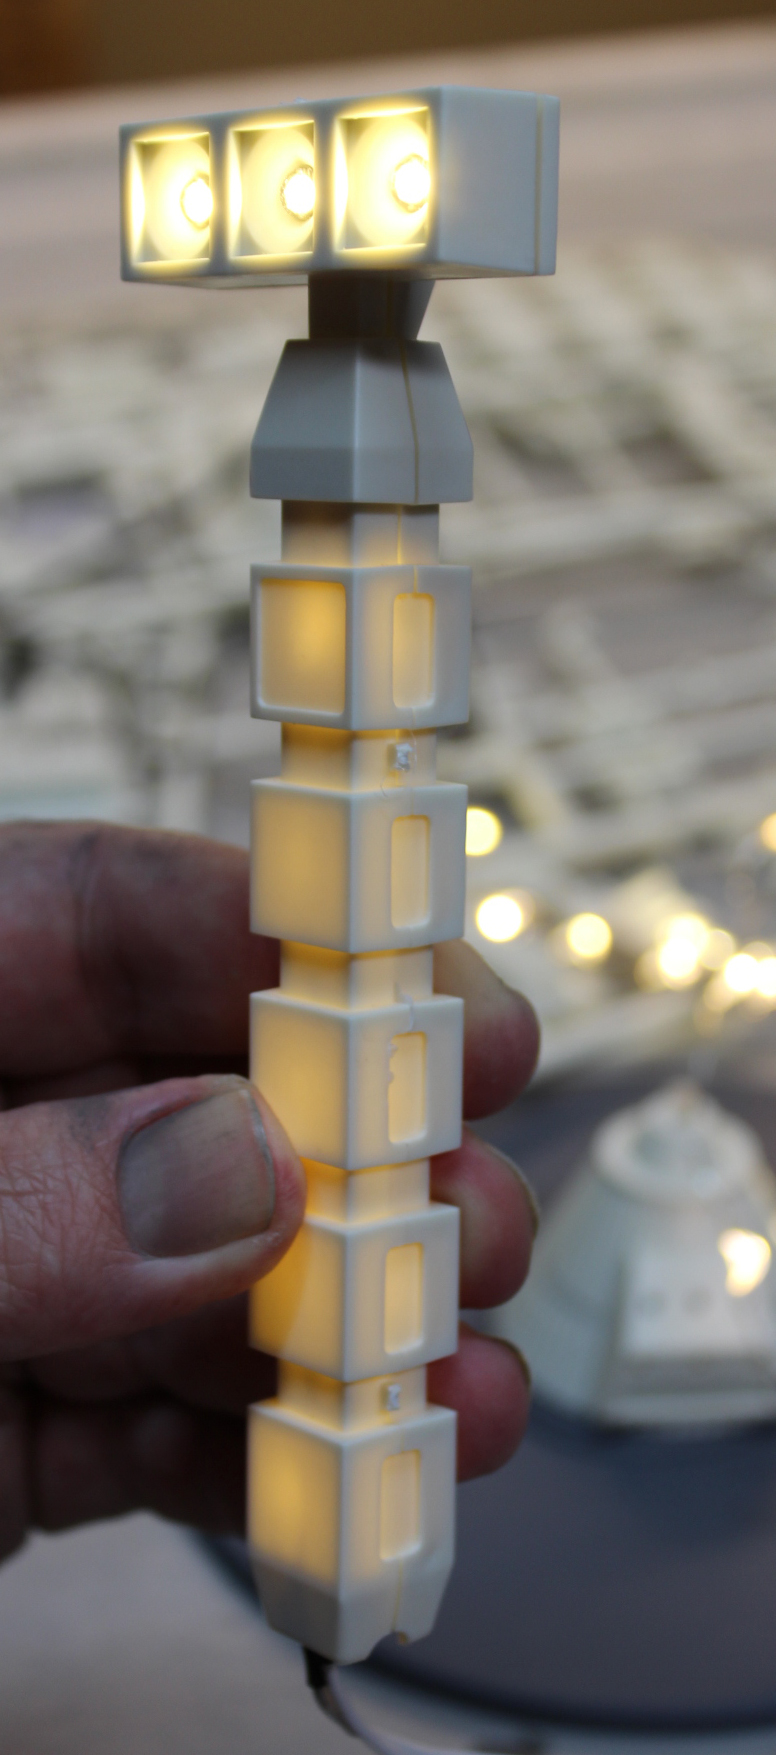
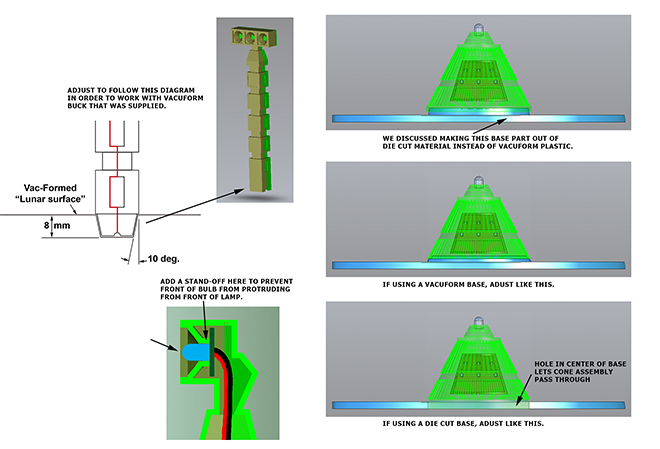
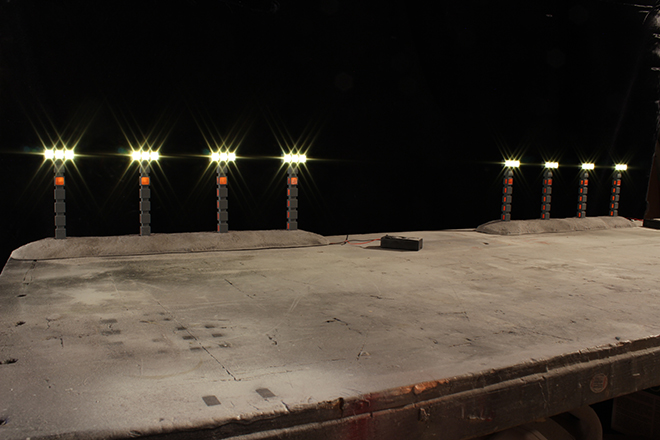
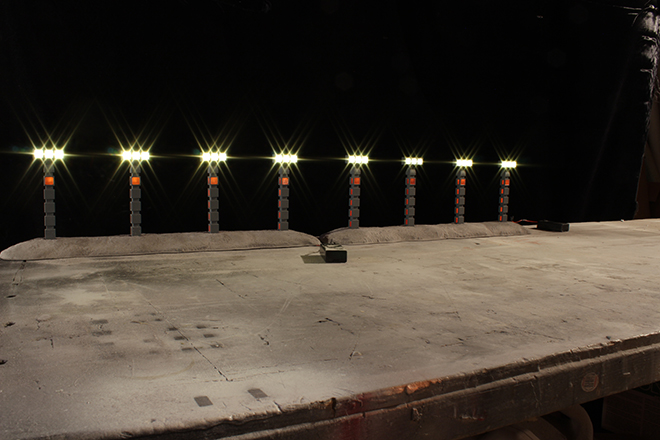
Here is a “blink-and-you’ll-miss-it” look at the back side of the lamp stands along with a photoshop-enhanced look at it.
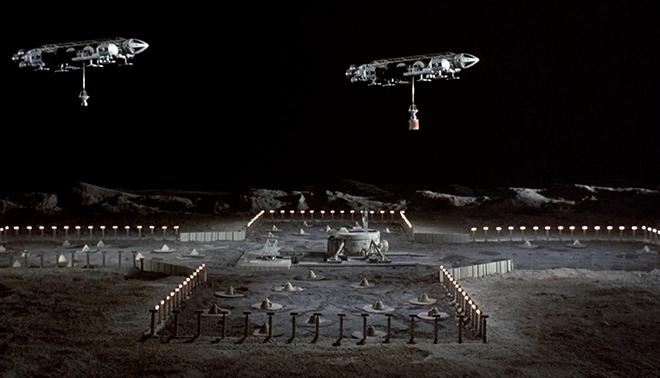
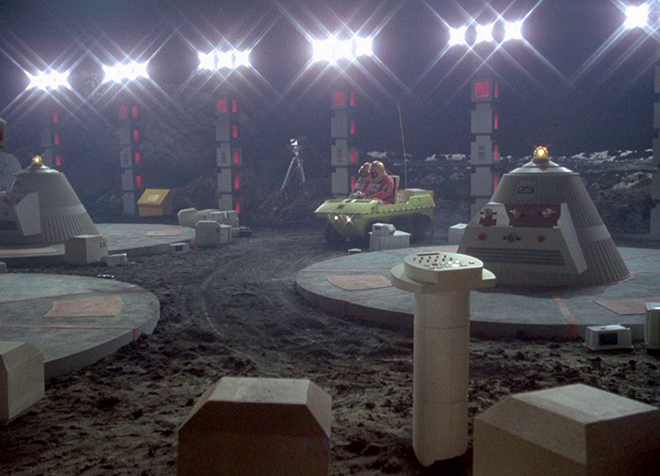
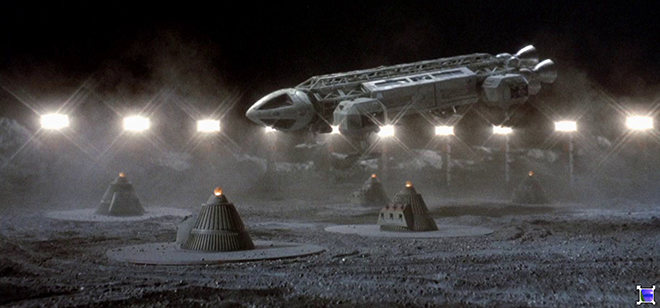
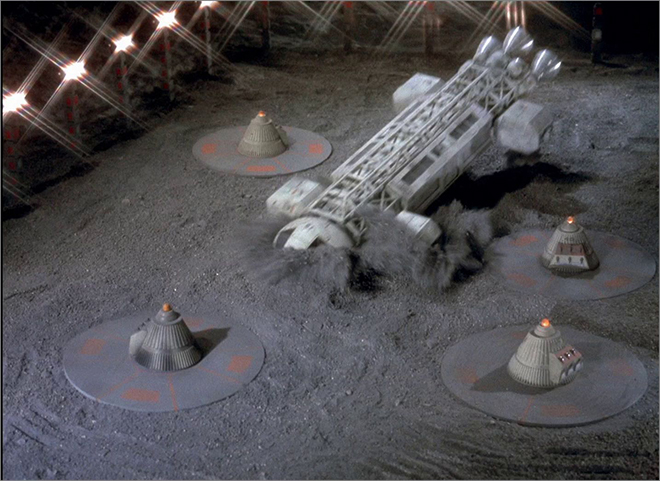
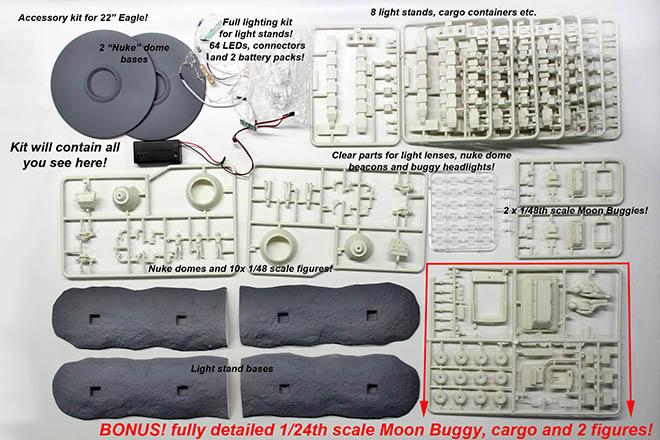
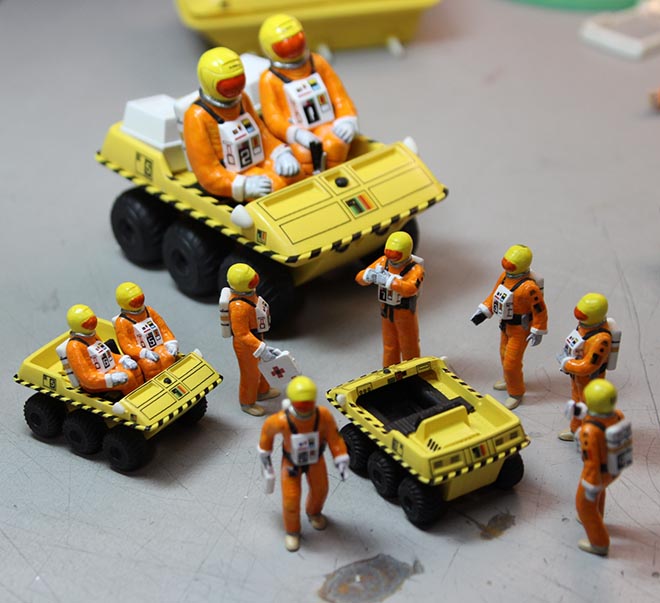
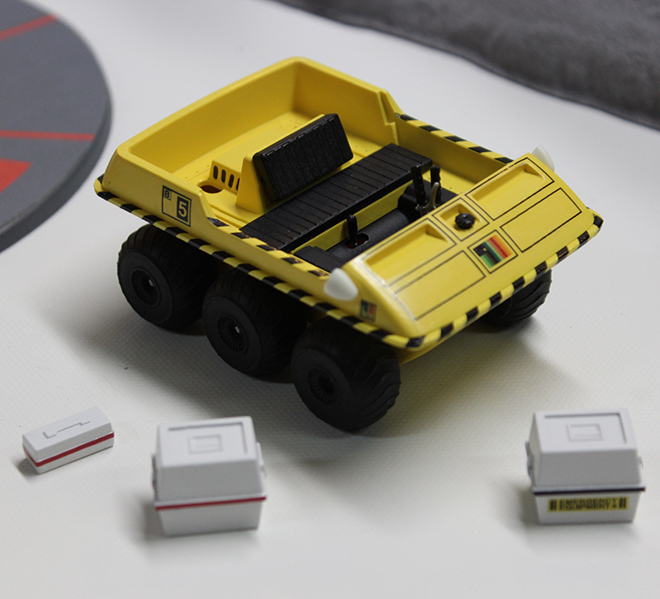
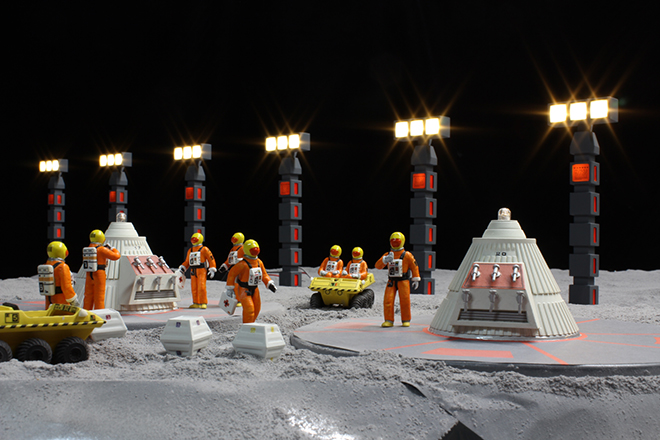
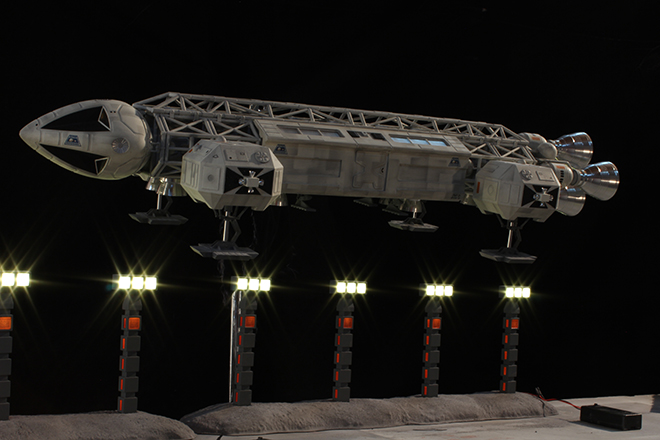
To say the least the opening scenes of the premiere episode “Breakaway” inspired the release of our new Nuclear Waste Area 2 Diorama Set. Considering the constructions in that area we found plenty of items to include. Probably because it is vehicle, the moon buggy was the obvious choice to include. Of course, it would need driver and passenger. And if we did those figures, it would be great to include more. But what do Alphan explorers do on the surface of the moon. Why, they have to inspect the radiation monitors atop each storage silo of course. A few of the boxes laying around the area would be simple enough, but we decided to make them hexagonal as such storage containers would evolve into later in the series. But all that stuff really didn’t amount to much at 1/48 scale. We needed something really substantial to fill the box and give the kit some amount of heft. Jim Small has always championed a 1/24 scale moon buggy. If we were doing the small one, it would be simple enough to make a larger one too. Since the rest of the kit was in scale with the Eagle, we decided to reason its inclusion to be a BONUS to the rest of the kit. But we still needed more… It dawned on me that the lamp stands literally defined the waste area. We could include some of those, but they wouldn’t be much fun… WITHOUT LIGHTS! So we decided to include the LEDs needed to light every one of the lamp stands from top to bottom. Add all THAT up and it started to look like the great value it was.
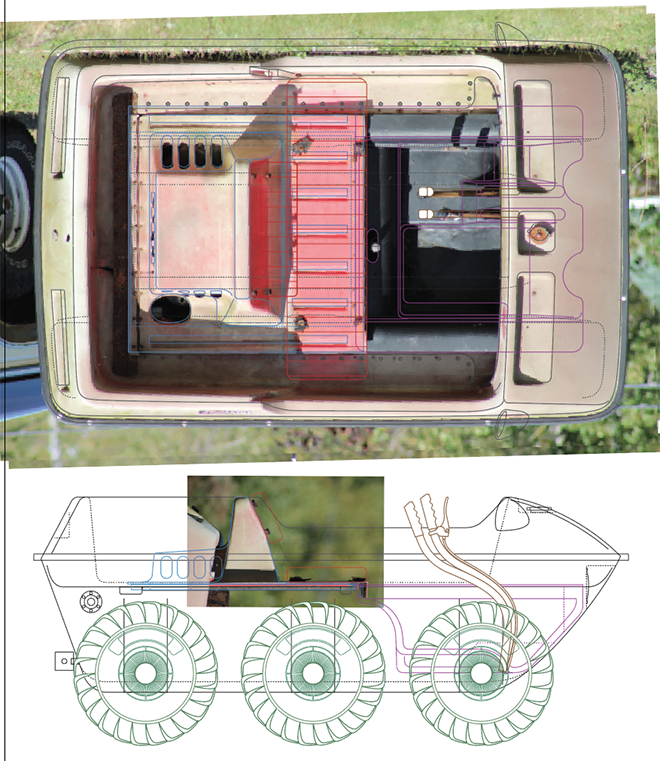
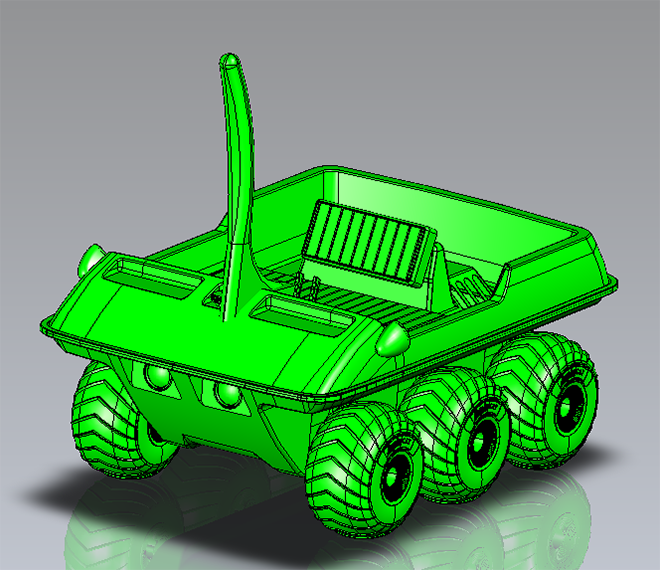
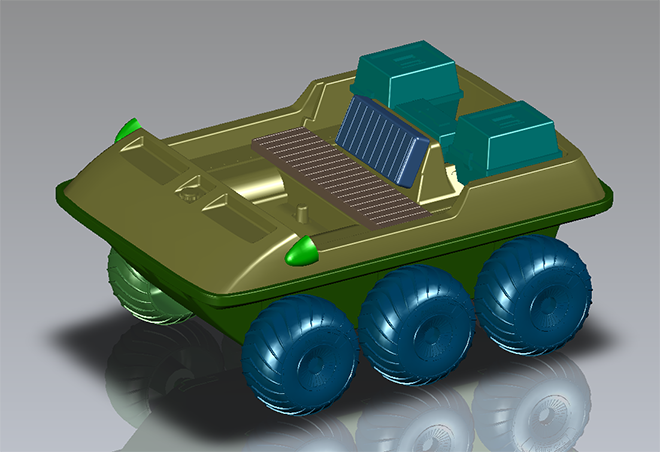
The buggy was going to be the biggest element to create. We had two choices. Send diagrams with measurements to the factory and let them try to cypher them out and then need to give tons of feedback to iron out all the details… OR we could have our pal, Daniel Prud’homme create the CAD work for them. Guess which route we took… One ace up our sleeve was the fact that Jim had real Amphicat 6-wheeler in his garage that he had always hoped to restore. We drew up a ton of diagrams and applied measurements taken from Jim’s ‘cat and sent them on to Daniel. He did an excellent job of getting the buggies spot on. Even Jim was satisfied. (a feat in itself!)
As we can expect, even the best Chinese vendors get a few things wrong in their first draft…
Soon to be corrected though.
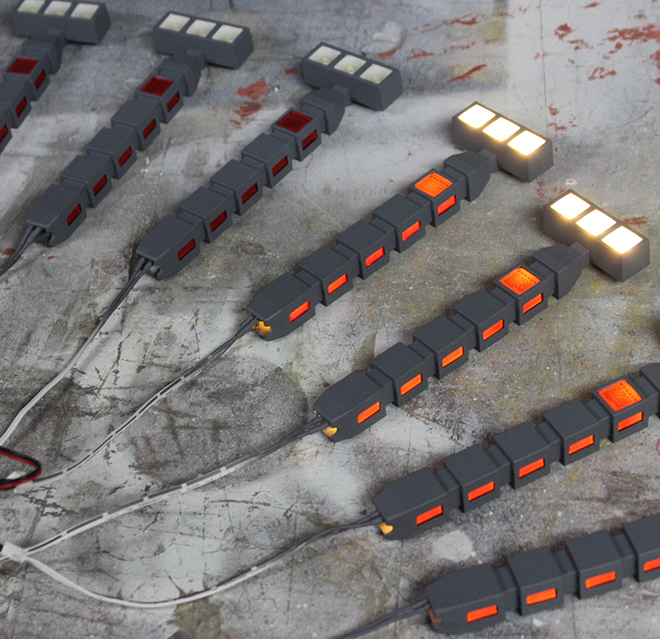
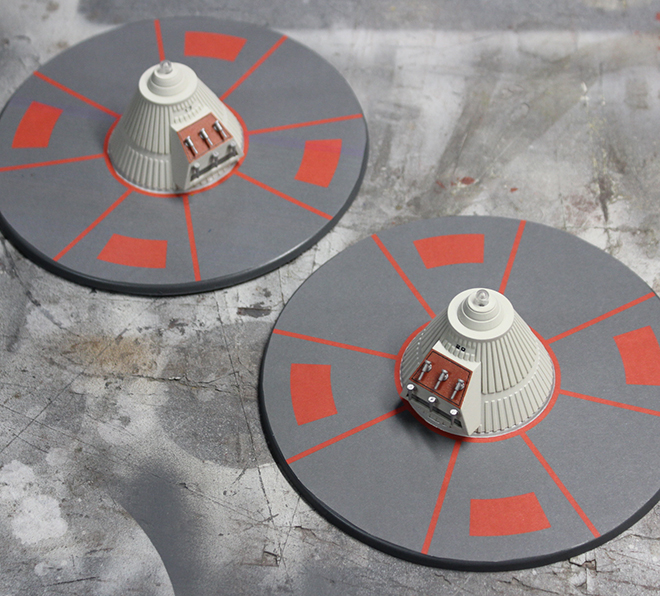
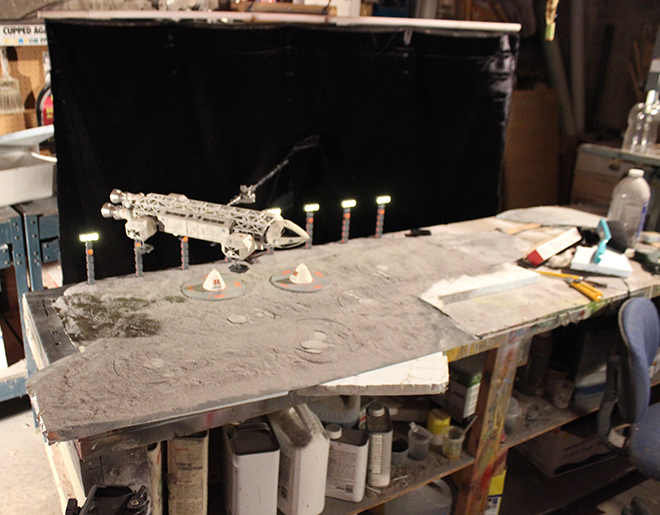
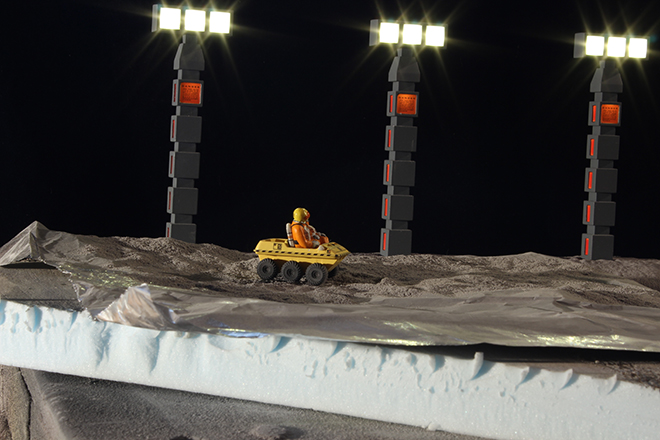
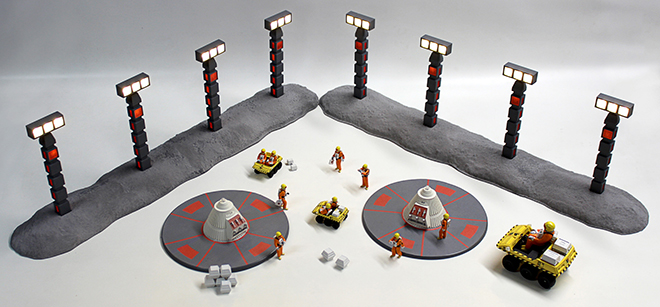
The kit will come injected in two colors. The 1/24 buggy will come in yellow for the fun of it. The rest of the kit will come in un-pigmented plastic. I’m not sure if any kit has ever been release this way. The plastic isn’t white, or gray or even clear. (test shot photos show “Eagle” white plastic) It is a dense translucent plastic that must be seen to be understood. This was chosen to allow the light to pass through the sides of the lamp stands that emanate a dull red light. LEDs are supplied for each point of light in the stand. We backed off the brilliance of the top three exposed bulbs to protect the viewers’ eyes. They are still plenty bright, but they won’t leave you seeing spots after looking at them. Here are some photos of our buildup under construction and even a peek at the mockups we had built for the Cargo Eagle packaging we showed at Wonderfest 2017.
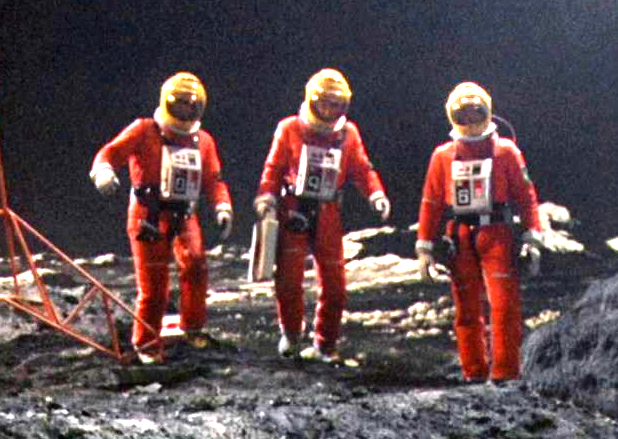
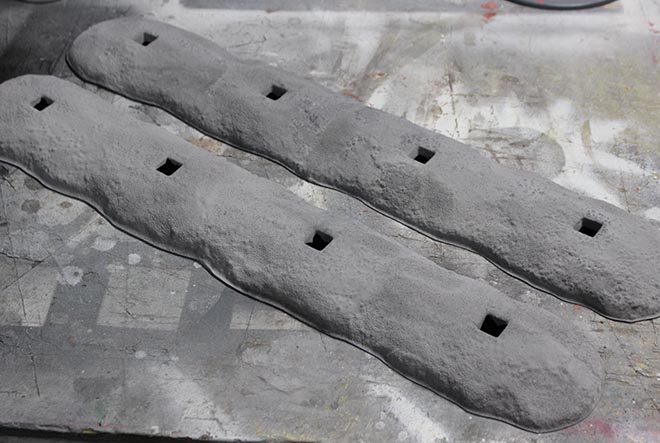
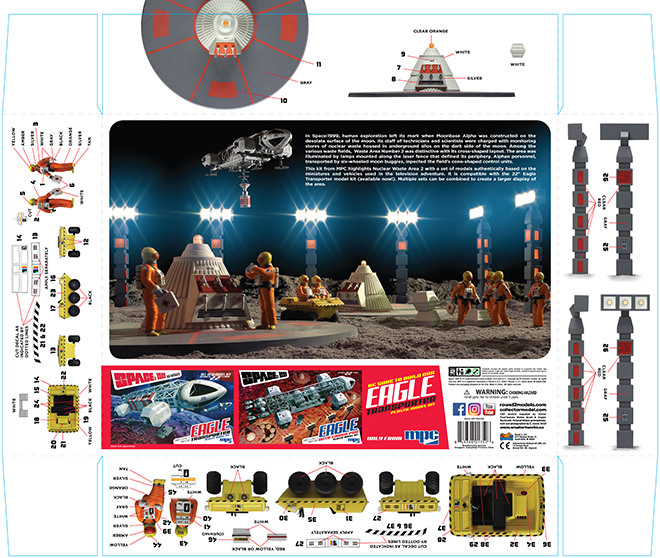
You get plenty of product in this set. Eight lamp stands are included with sets of four installing into two-part vacuformed bases. The bases have moon surface texture and are engineered with enough height to allow the battery box for each set to be hidden underneath. We are including two of the smaller moon buggies and a total of 10 1/48 scale figures come in the set. 2 pairs of seated guys for the buggies, then six others that share two styles of bodies and arms. The arms can be mixed and matched among the bodies and posed at the discretion of the modeler. Two nuke waste cones are also included. The whole set was designed for anyone that has the space to buy additional sets to make as big of a representation of the area as they want. As with all our kits, we’ll see how this set is received. If it does well, we’ll dive deeper into other accessories to add to the lineup.
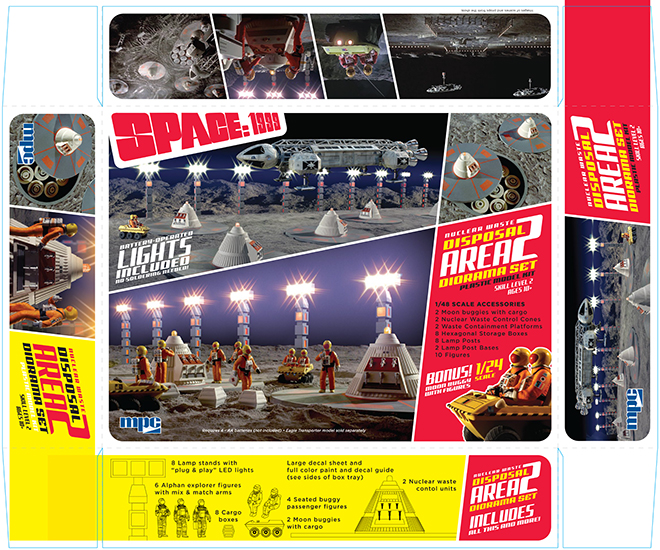
I changed up the packaging approach on this one I wanted to homage the look of vintage packaging like the old Moonbase Alpha kit. I also had to find a way to show exactly what was included in the kit while also establishing its size next to an Eagle. Part of the charm of the MBA package was its use of white along with very colorful photos of the structure. I also wanted to vary the features shown on the lid and make a point about the 1/24 BONUS Buggy. I ended up with a box that really flips my usual approach. The back of the box, shows one larger image with the rest of the box taken up by feature shots, kit info and photos of the real miniatures. I’m very satisfied with where it all ended up. It is very eye-catching and colorful with just the right amount of the throwback look I intended.
Here is a look at some of the process photography from the packaging. Just like the best special effects shots, we used compositing tricks to achieve the ideal look.
Look for the kits to hit retailers at the beginning of December.
Thanks to Jim Small for lending us some of his photos for this post. For more form him visit:

