
AMT’s Flying Wedge is Set To Take Off Again!
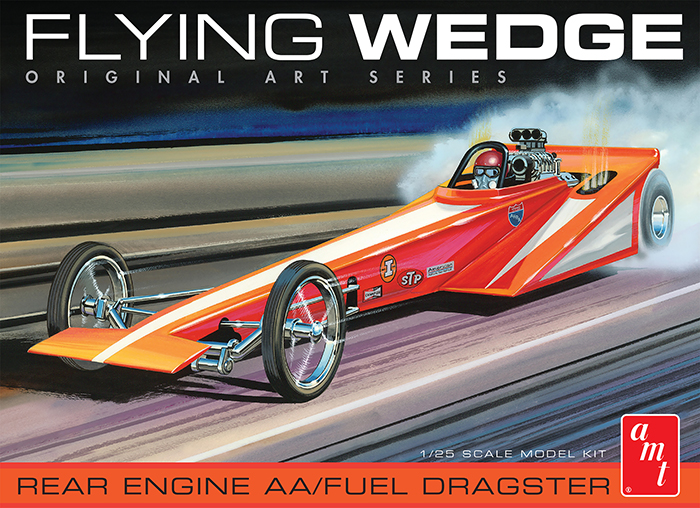
After many, many months of research and design, we’re finally ready to release our beautiful Original Art Series issue of AMT’s Flying Wedge Rear Engine Dragster!
This was quite the endeavor as the entire body sections had to be retooled, so we took this opportunity to compare it against AMT’s other wedge dragster based on Steve McGee’s Black Beauty. While the two kits were similar, the original Flying Wedge kit’s body was lacking detail and the original McGee kit wasn’t quite accurate. So this time, we authentically duplicated the rear wedge section to match the real McGee car. The wedge section also features additional detailing like sheet metal rivets and in our research, we discovered that the rear lip of the wedge was adjustable by means of a piano hinge along the back. We’ve added that hinge detail, making the this kit the most accurate 1970’s style wedge dragster kit you can build.
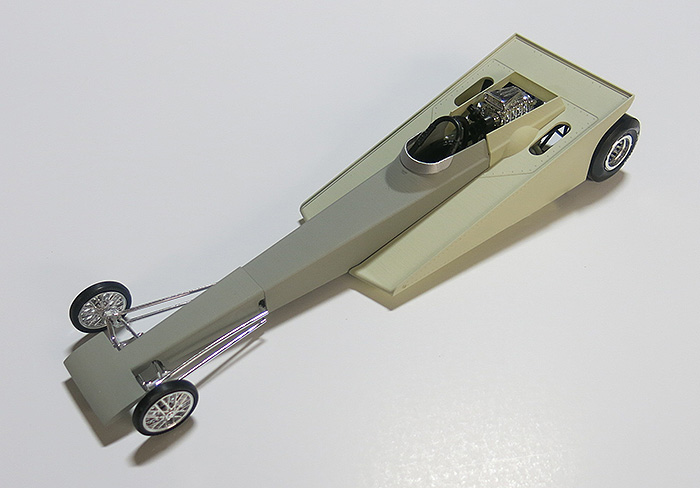
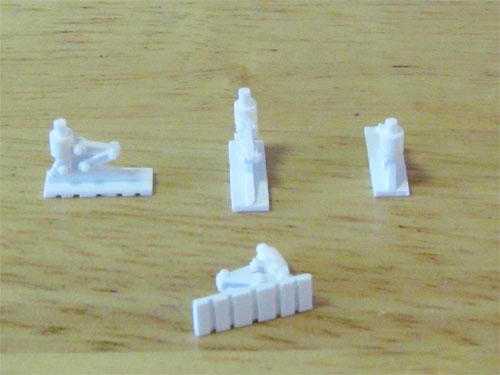
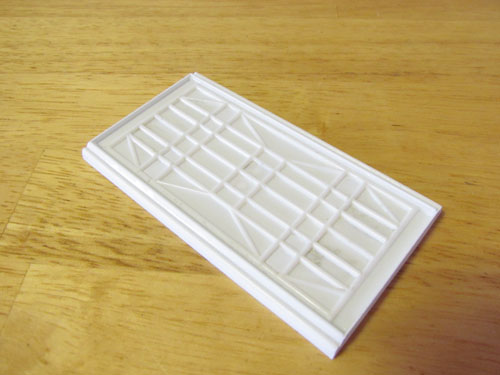
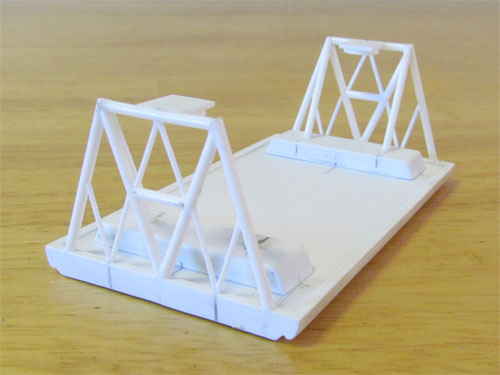
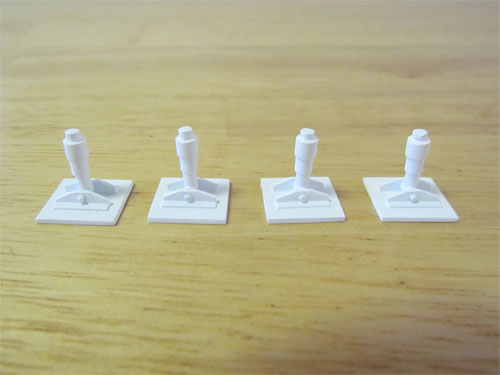
The photo shown is an early test mockup, but you can see the complete engine shroud and added details.
The Flying Wedge Original Arts Series issue also features newly tooled front body sections, plus a new one-piece injector scoop!
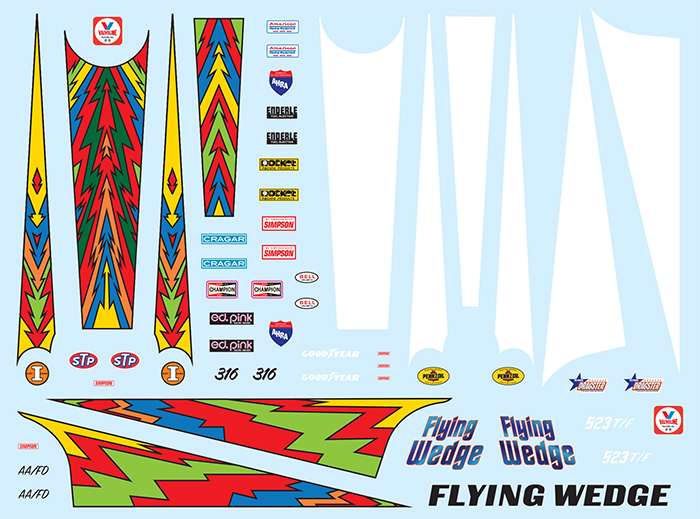
We’ve also updated the decals to include the original markings, plus added the white stripes as seen on the box lid, which were never included with the original kit.
As with our other Original Art series releases, the kit contains a fantastic print of the box art suitable for framing.
Set to be released later this fall, be sure to pick up this great AMT kit at your hobby retailer!
Kat Chat: Create Some FRICTION!
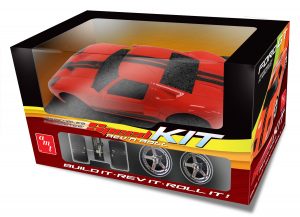

Remember the early days of promotional models with “friction motors” in them? Well, the Kats at AMT do, and they’ve put a fun spin on the idea with the new Rev ‘n Roll SpeedKit series! These wild, modified – but instantly recognizable cars are all about fun, easy assembly and playability, for even the most die hard video game-obsessed kid! They’re slung way low with gleaming chrome wheels on wide low profile tires, have pre-painted and decorated bodies and best of all… they screw together in a matter of minutes!
Once built, you can rev ’em up and watch these radical rides roll on their own via the included friction motor! Assembly couldn’t be simpler. Snap in the motor and axle assemblies and screw the rest together with the provided screwdriver! It’s about as close to instant gratification as you can get in model building.
Four different cars are featured in Series 1: a killer Camaro, mighty Mustang, cool Corvette and fantastic Ford GT! Collect ’em all and watch for more to follow!
Give your favorite kid or grandkid a chance to do something fun and creative while their thumbs take a break from the games. Let ’em build an AMT SpeedKit Rev ‘n Roll friction car and get all revved up!
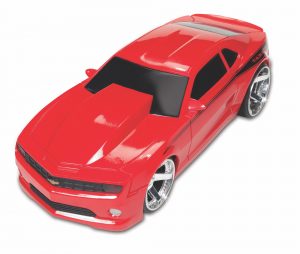
The Camaro is shown below. Dig this bad boy… it looks mean and fast, just standing still!
Until next time, Build It… Rev It… ROLL IT!

Transforming the Classic MPC Eagle Kit – Part 4
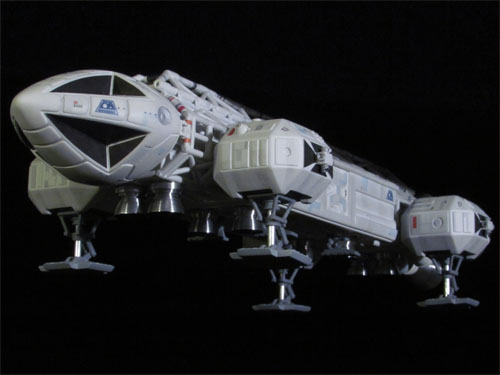
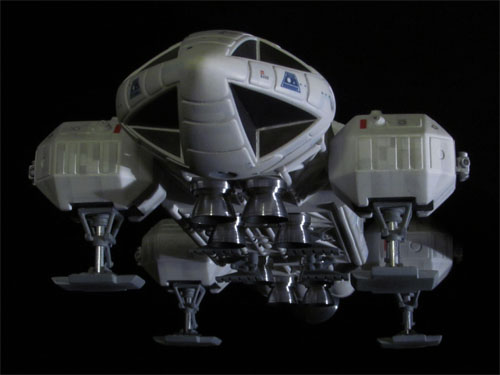
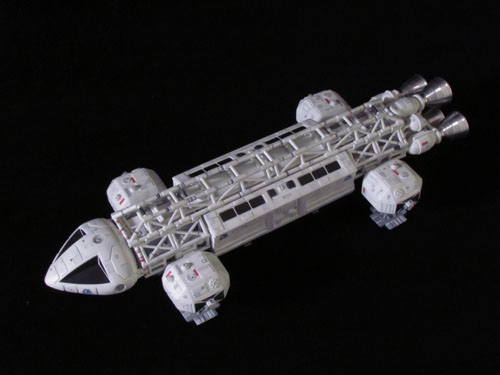
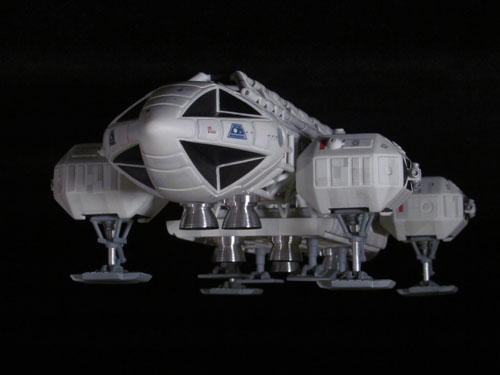
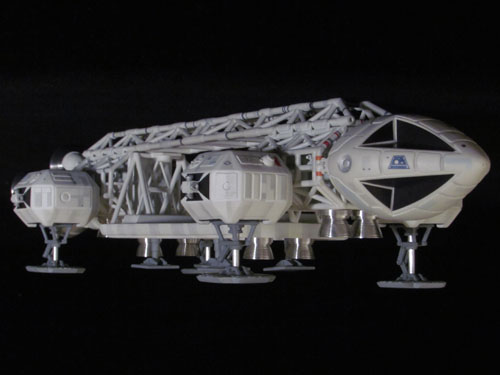
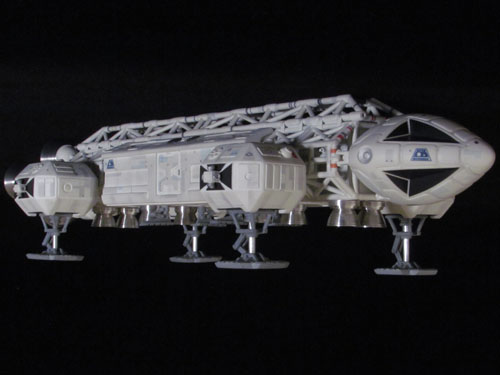
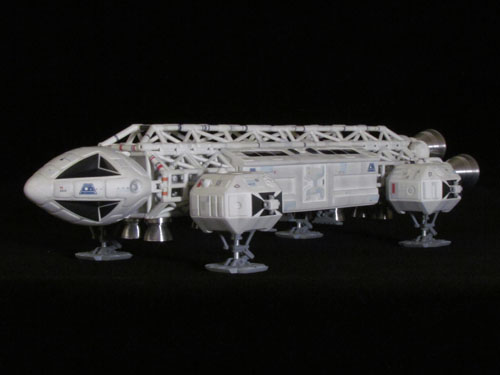
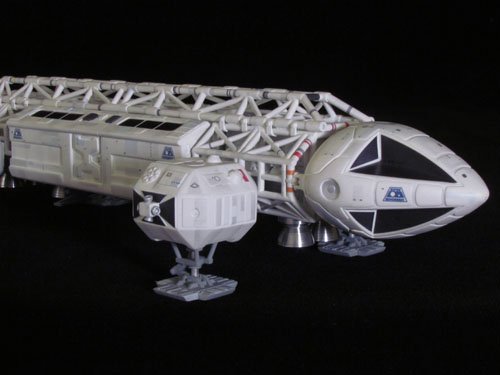
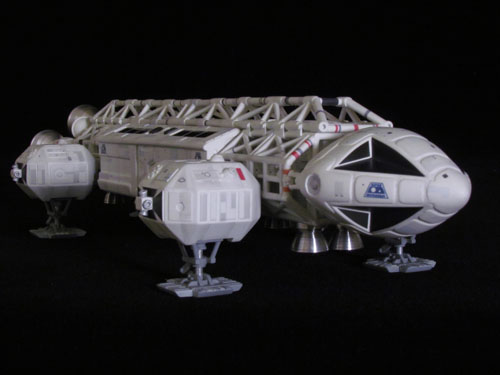
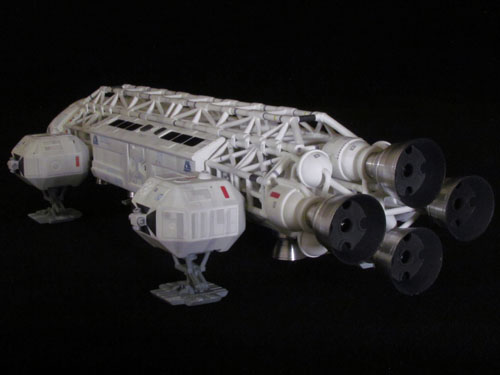
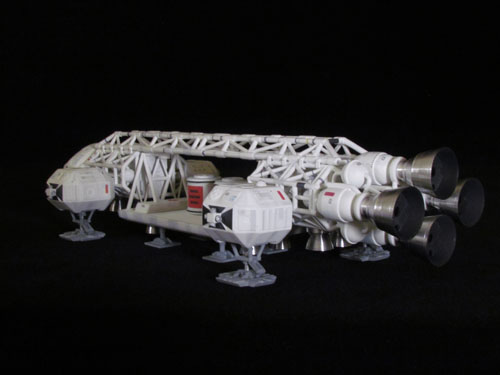
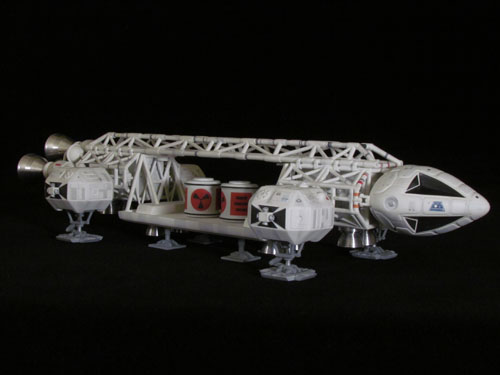
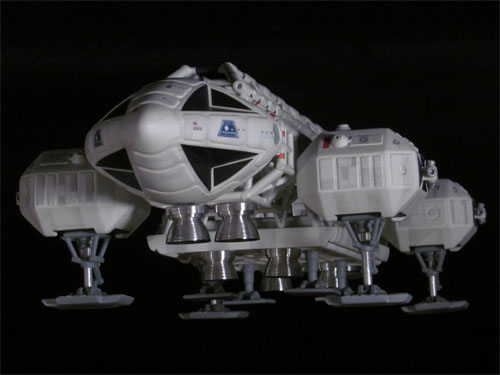
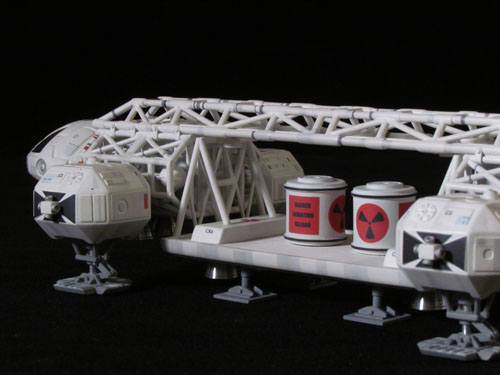
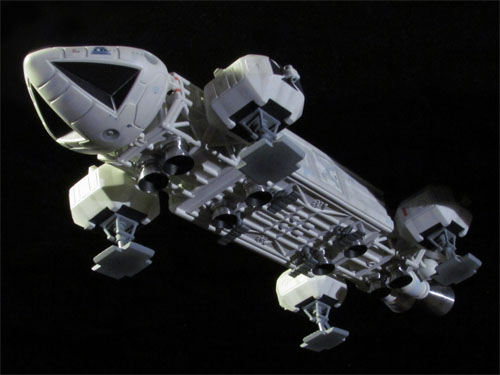
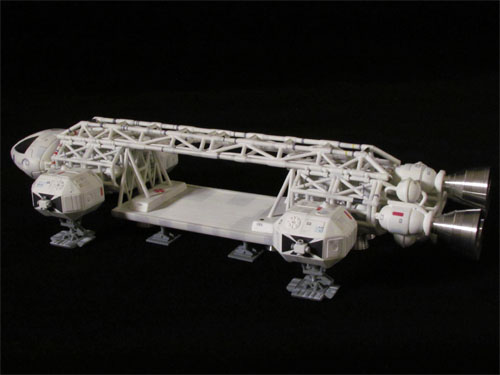
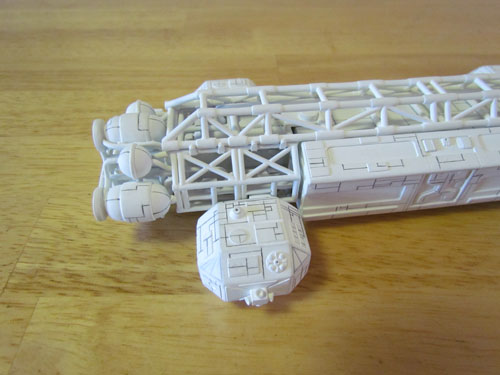
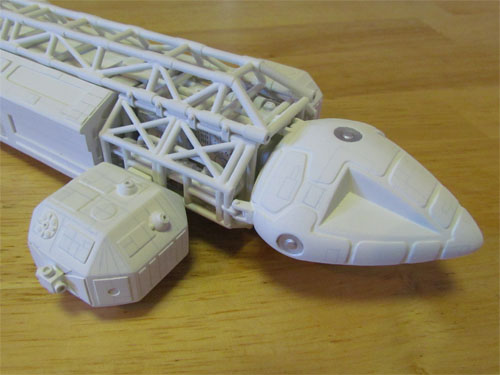
Here is the last of the articles from Michael Scarola showing his fabulous build of the 12″ MPC Eagle kit. We are generally just showing the finished model this time around. Thanks, Michael, for contributing this series.
I hope to post something soon showing our progress on the 1/2500 NX-01 coming in our anniversary boxed set coming later this year. Happy modeling.
Coming off the Shelf – Cheverra, It’s A Snap!
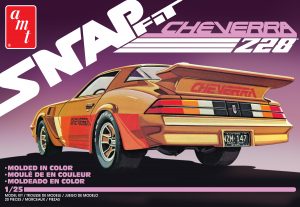
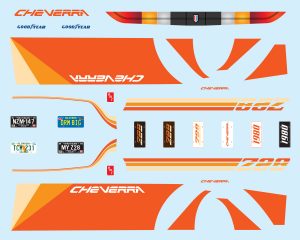
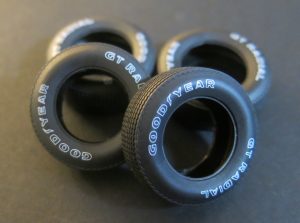
AMT is proud to offer the Cheverra 1980 Z/28 Camaro snap kit, once again! Shot in two colors, this easy-to-assemble snap kit includes just over 2o parts, making it one of the easiest kits you’ll ever assemble. The body is shot in an eye-catching metallic brown, so painting the body is optional. We’ve also taken the liberty of refining the decals, while also adding a few extra goodies to the sheet – just for kicks! As an added bonus, the Cheverra kit now includes a set of tasty pad printed tires, to give your build that extra little something.
Look for it at your local hobby shop!
Lindberg Model kits: 1620 Pilgram Mayflower!
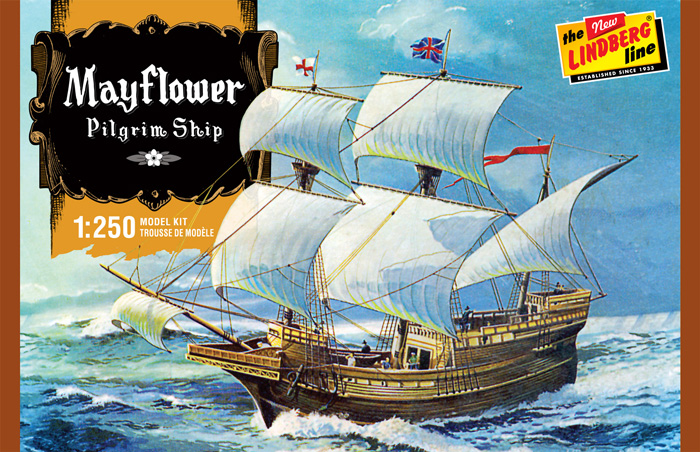
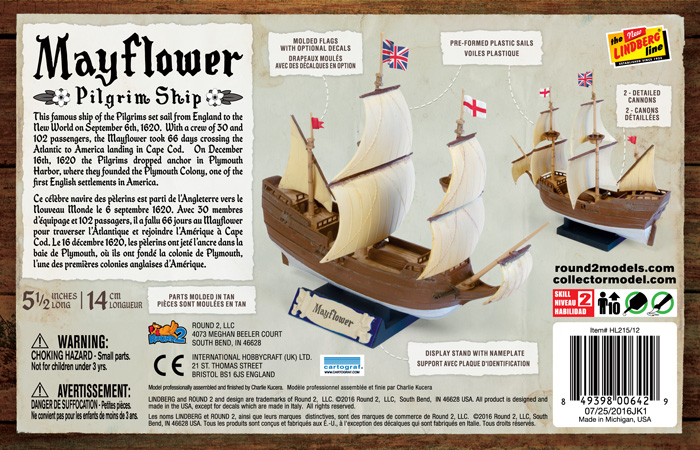
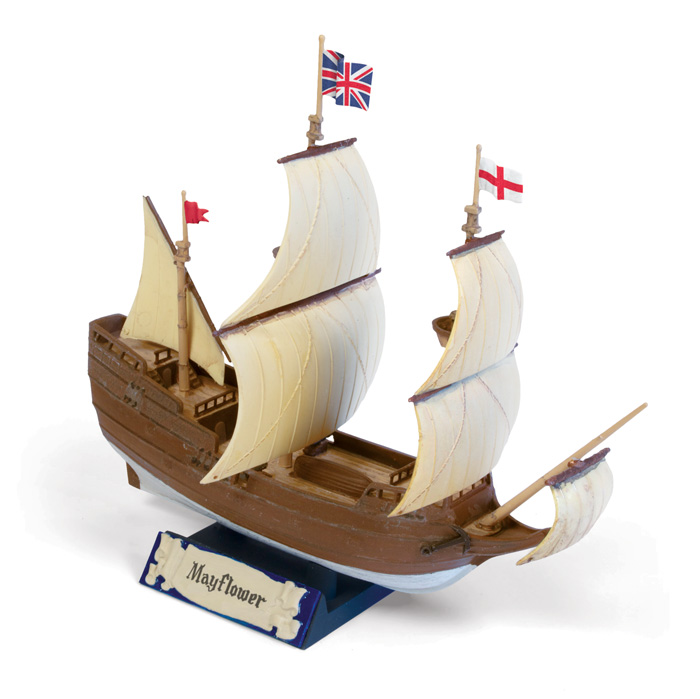
This month set sail with the Pilgrims on the Mayflower. Build this 1:250 replica of the famous ship that establish the first English settlement in the new world. The Mayflower is joining Lindberg’s growing fleet of small scale sailing ships. At 5.5 inches long the kit is packed full of detail with molded flags, preformed sails, decorative hull and wood grain deck.
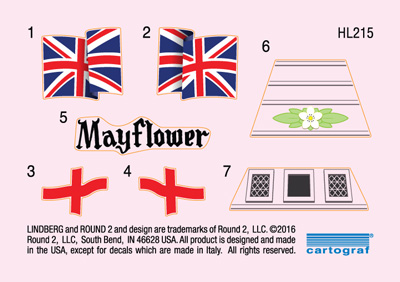
The Mayflower includes new packaging featuring the 1963 boxart, easy-to-follow instructions, display base with nameplate and Cartograf decals. The new decal sheet includes flags, name for display and stern decoration.
The World’s Fastest Animal: Tom “The Mongoose” McEwen’s Top Fuel Dragster from MPC!
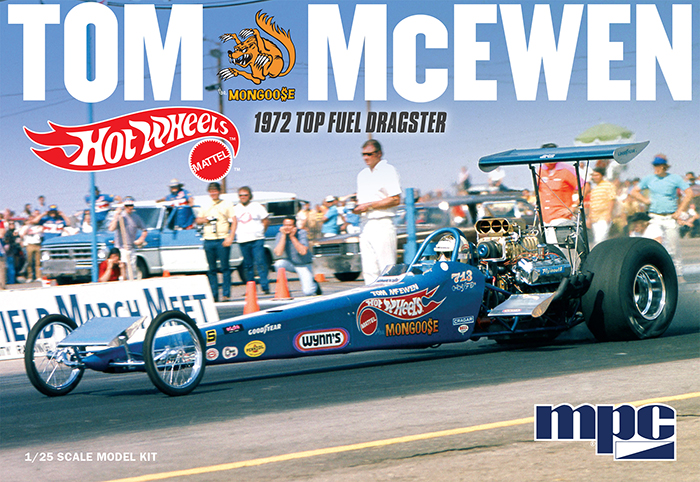
Hot on the heels of our release of Don “The Snake” Prudhomme’s 1972 Yellow Feather Top Fuel Dragster, we’re getting ready to produce the car that was raced by Don’s famous rival, Tom “The Mongoose” McEwen. This pair of drag racers brought modern showmanship and marketing to the sport with their match races and rivalry and paired that with sponsorship from Hot Wheels and made history in the process.
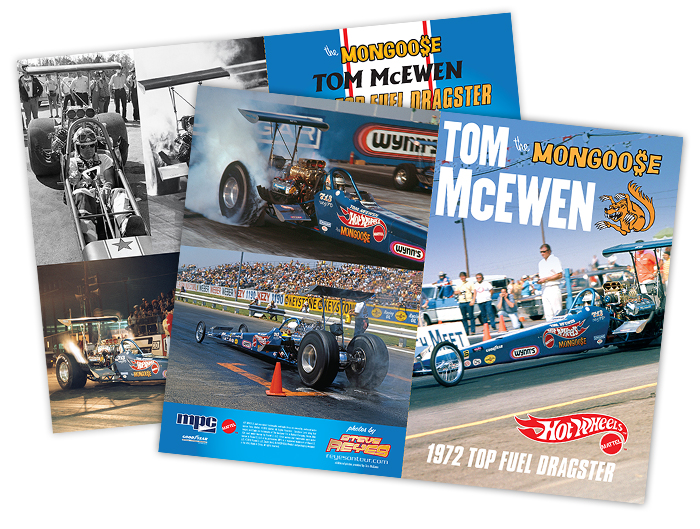
Now you can build and display both The Snake and The Mongoose in all of their 1972 glory. Just like the Yellow Feather kit, MPC’s Mongoose top fueler features newly-tooled rear wing struts and injector scoop, along with pad-printed rear drag slicks. Plus, as both a collectible and guide for the serious modeler, the kit includes a color photo booklet features great images taken by famous drag photographer Steve Reyes with additional image supplied by McEwen himself!
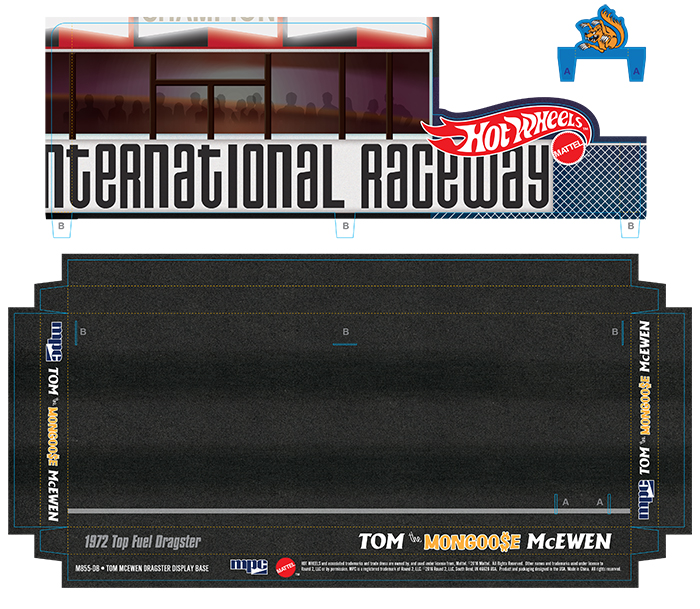
We’re also including a display base to show off your finished kit and while we featured a backdrop from Lions Drag Strip in the The Snake’s dragster, this time the base replicates another of California’s famous tracks – Orange County International Raceway.
Slated for a December release, be sure to catch this Mongoose when it hits the shelves!
Transforming the Classic MPC Eagle Kit – Part 3
Painting, Weathering, & Decals…
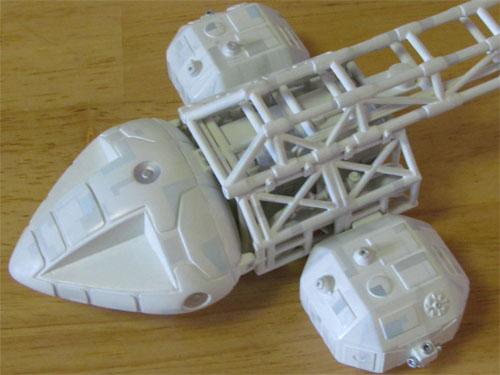
Not unlike the Star Trek original series Enterprise, the Eagle 1 studio model’s hull color has been a subject of debate among modelers. The paint/color that has become the most popular is an automotive paint, Ford Diamond White (FDW). The original Eagle 1, 44” studio model, was originally painted a plain white color but was later re-painted an off-white primer that’s the same shade as FDW.
For this build I wanted to replicate the look of the Eagle in mid season 1, when it had the various gray and blue panels as well as the panel lines drawn on. This seems to be a popular look as I’ve seen many Eagle replicas painted this way and happens to be my favorite look for the Eagle.
A friend sent me a sample of FDW that I used to mix the color using Testors Acryl hobby paint. After speaking with someone who works with automotive paint I found that a greenish-yellow pigment is used in the FDW formula to make the off- white shade. I added a couple of small drops of (Testors) Yellow Zinc Chromate to Flat White and it’s an almost exact match to the FDW color sample.
The color appears to have a creamy appearance with just a very small hint of green under various lighting conditions. With this mix worked out for the hull color all that was needed was to scale down the amount of Yellow Zinc Chromate I was adding to the white. For a larger Eagle, 44” or even 22”, FDW looks right but for this smaller 12” Eagle the off-white color looks better with just a bit less yellow in the mix.
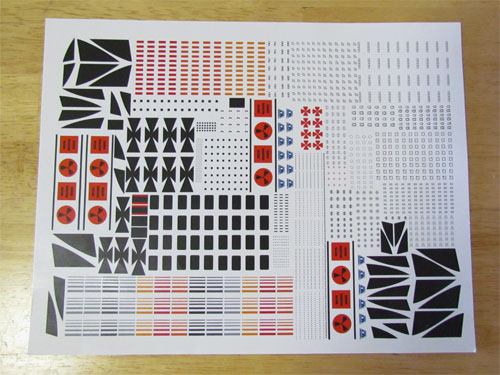
I really wanted the small technical marking decals for this build so I decided to try and make some using the program Illustrator.
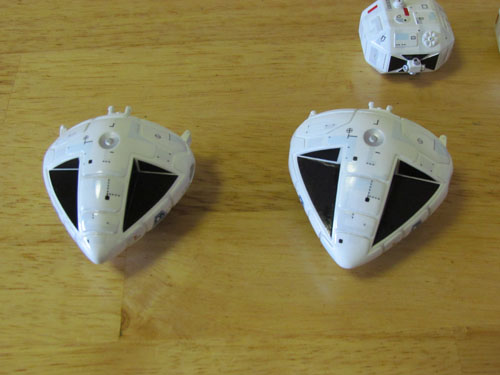
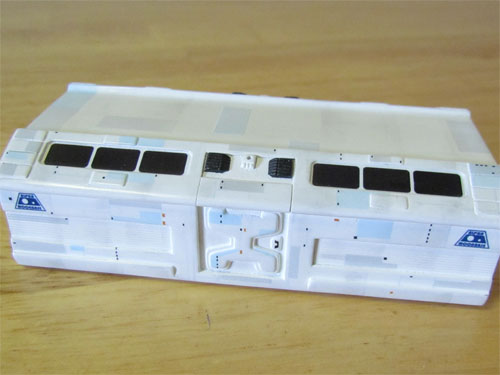
I’m still very new to using Illustrator but gave it a go. I studied reference images of the 44” Eagle 1 studio model and made the various markings as well as the windows and anti-glare panels for the resin CM and passenger pod. For the MPC kit’s CM I used the decals that came in the MPC 12” Eagle kit.
Now came the fun part… I sprayed the Eagle and all the various parts with the off-white hull color. After this, using reference pictures of the 44” studio model, I drew on all the panel lines with a pencil.
The hull color was then sprayed over the panel lines to blend them in to keep them more in scale.
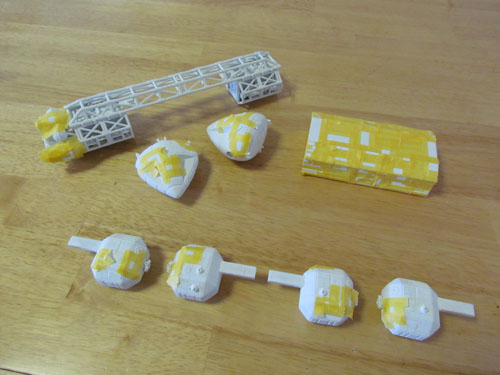
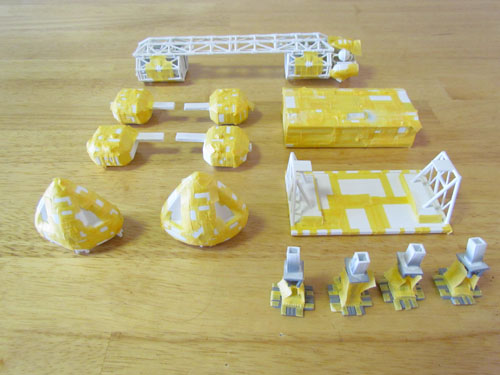
Using reference pictures, I started masking all the various gray and blue panels.
This image shows the gray and blue panels painted.
The decals were applied after the panels and small details were painted.
The model’s sections were weathered with dark gray pastel chalks and clear coated to seal it all in. I then sprayed a very thin, light mist coat of the off-white hull color over the decals for a more in scale look.
I sprayed Testors Create FX acrylic clear over the CM and passenger pod’s window decals, which I polished for a glass-like appearance. The windows were then masked when the final flat clear coat was applied. The landing gear was painted Testors Acryl Neutral Gray and the ‘toes’ on the main gear were masked and painted with the same Neutral Gray lightened with some Flat White.
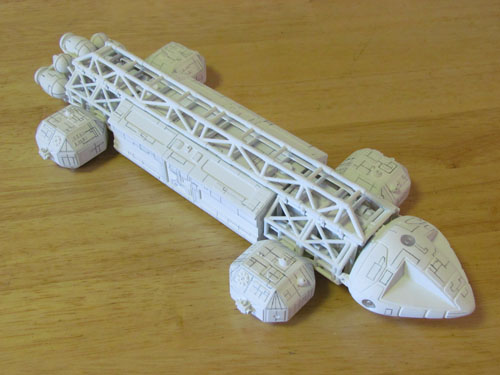
Painting and applying the decals was almost as big a job as the build, well almost. Including all the small technical markings and windows, there are approximately 425 decals applied.
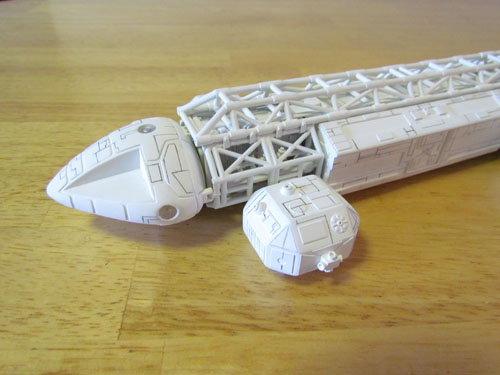
This was an extremely fun project that also gave me an opportunity to learn more about the original 44” Eagle 1 studio model along the way. I’m happy to have this one completed.
I’d like to thank Jamie Hood and everyone at Round 2 for giving me the opportunity to share this on their site.
Michael Scarola
Next time… a batch of beauty shots of Michael’s finished model. -JH
Kat Chat: Skinny Slicks Are In!
The Kats at AMT are stoked to report that the all-new “skinny, pie crust” slicks tooled for the reissue of the Barris Surf Woody have been very well received! Modeler feedback continues to be spectacular and so we included a variant, pad-printed with Firestone lettering, for the landmark reissue of the AMT 1929 Model ‘A’ Ford. Now, for our next trick, how ’bout a wide-whitewall version with simulated raised Firestone lettering! Check it out…
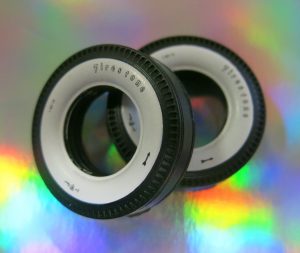
If your eyes are like ours, you’re gonna’ need glasses or a magnifying glass to appreciate the fine detail in the reversed-out pad-printing on these tires. By “knocking out” the outline of the Firestone letters, a raised look is suggested that will give your next rat rod, old school custom or vintage drag racer build a top shelf super-detailed appearance!
But wait, what kit will these irresistible tires be included in? Well, we’re glad you asked! Look for them later in the 4th quarter this year, as an option for the upcoming AMT “GAS MAN” ’49 Ford Coupe!
Grab the glue, it’s all for you!
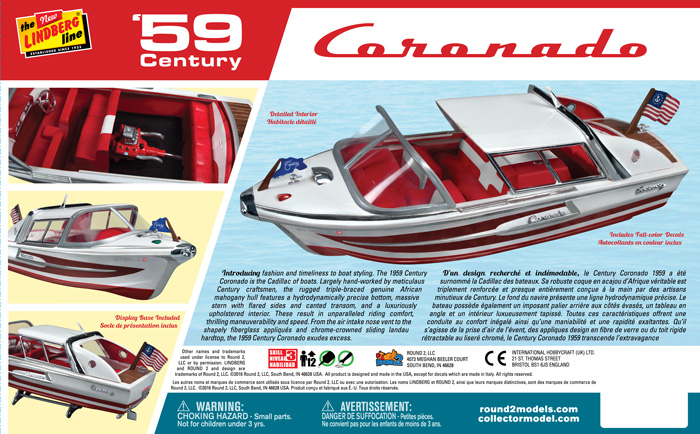
Lindberg Model kits: 1959 Century Coronado Boat!
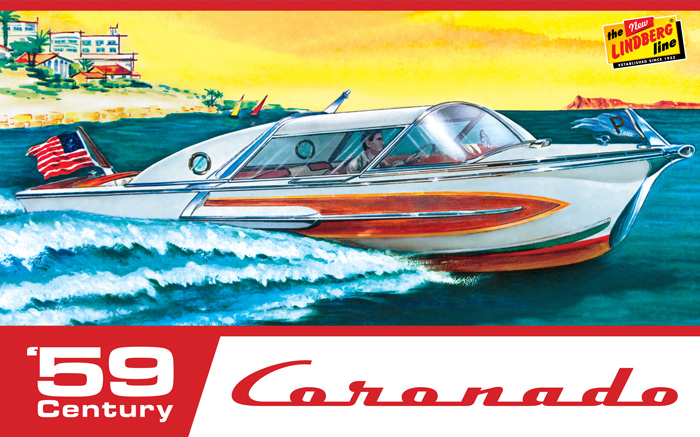
For those fans of mid-century chrome and bubble tops Lindberg has a kit for you. We found a few boats hidden in our tool collection that haven’t been seen since the 1960s and the first one to be released is the 1959 Century Coronado. The 21-foot Coronado was the flagship of Century’s line of runabouts and was known for its luxury and styling. The boat was designed by Richard Arbib, mostly notable for his watch and automobile designs, including the 1957 Hudson Hornet. If you would like to know more about the Coronado and see some pictures check out “The Cadillac of Boats”on WoodyBoater.com. Also check out some of the articles at Forgottenfiberglass.com or CarStyling.ru about Richard Arbib’s car designs.
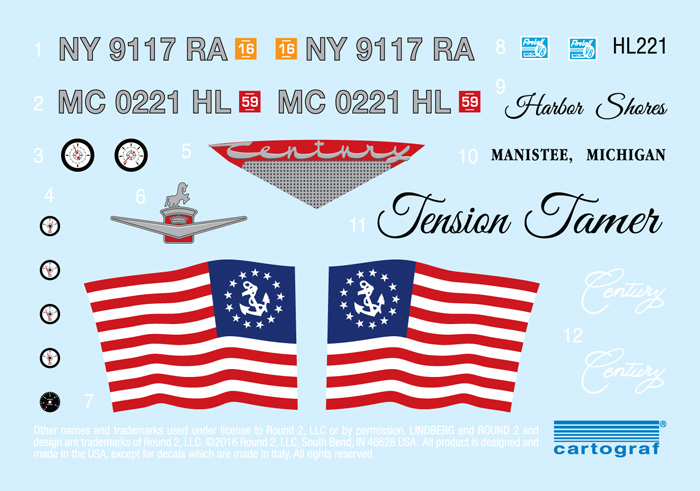
Features include: full color decals, vintage boxart, display base, chrome parts, plastic flags, sliding canopy, and a removable engine cover.
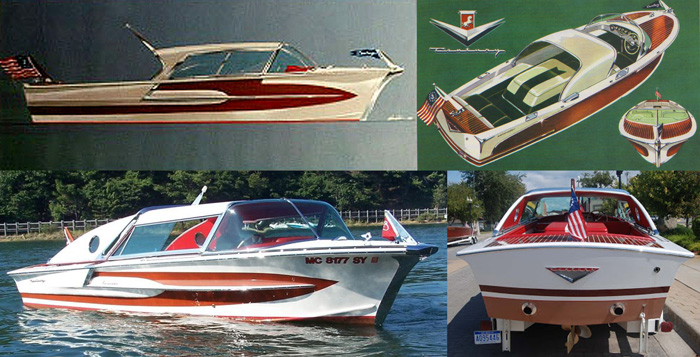
Above: Richard Arbib’s Coronado designs and photos of the real thing. Below: More of Arbib’s designs including the 1957 Hudson Hornet, the 1952 Packard Pan-American Roadster, the 1954 Ford Atmos, and the 1956 Astra-Gnome.

Transforming the Classic MPC Eagle Kit – Part 2
Here is the second in a series of articles by Michael Scarola showing the steps he has taken to accurize a 12″ MPC Eagle.
My Eagle 1 build continues…
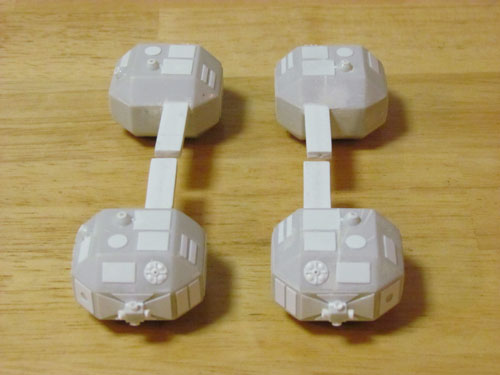
The 4 shelves that go inside the cages were each made from 2 pieces of .5 mm styrene sheet glued together.
The details were matched and scaled down from the Eagle 1 blueprints using 3.2 mm, 2.5 mm, 1.6 mm & .4 mm styrene rods as well as rounded sprue ends and the round domes from the ends of the nacelles of a Polar Lights 1/1000 TOS Enterprise kit.
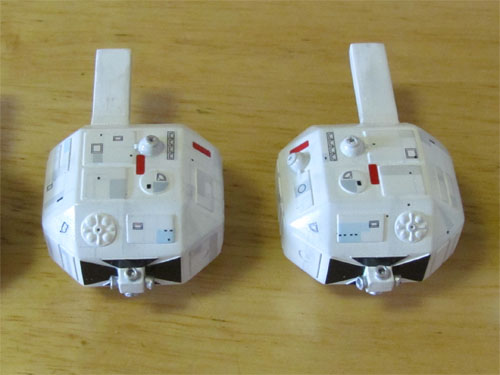
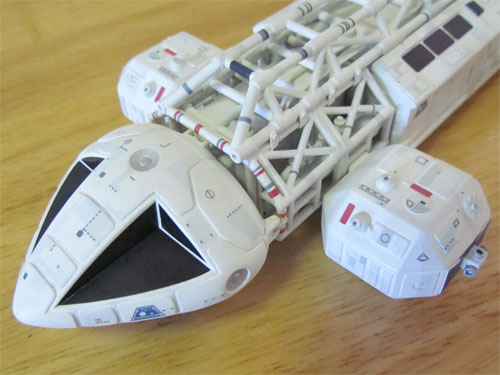
The MPC kit’s passenger pod has some nice detailing so I decided to use as much of it as possible. I started by scratch building new front and rear bulkheads. Three layers of sheet styrene were used with the various shapes and door details cut out…
…and Evergreen V-Groove sheet (.025” spacing, .020” thick) was glued into the side channels.
The top has neodymium magnets underneath for attachment to the spine. I made the eves with layered .5 mm sheet styrene and 2 mm round rod at the edge to give them the rounded shape.
The ‘Gemini’ kit details in the center of the eves were replicated with Evergreen Metal Siding (1 mm thick, .75 mm spacing) as well as the center details taken from the MPC kit’s passenger pod.
I removed the built in thrusters from the kit’s passenger pod bottom…
…to make way for a set of aluminum thrusters. The footpads were removed and replaced with ones I scratch built…
…and all missing pipes were replaced with 2 mm half round rods. Various styrene rods (3.2 mm, 1.6 mm, 1 mm, & .5 mm) and styrene sheet were used to scratch build the details.
A spare MPC passenger pod bottom piece…
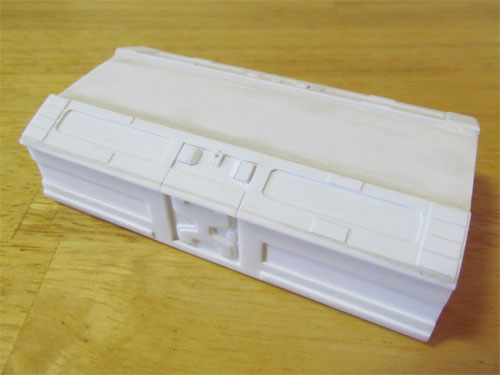
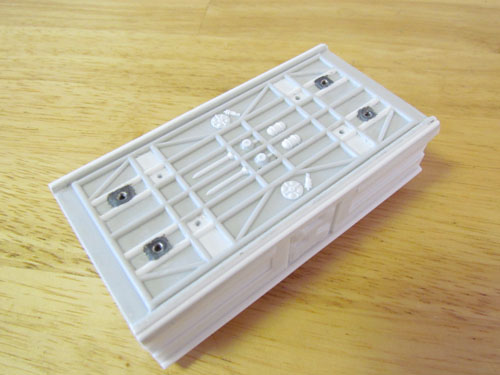
…was used to scratch build a cargo pod. 2 mm and 1 mm styrene rods were used for the front and rear supports…
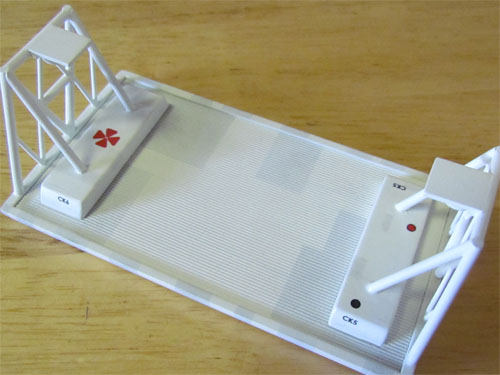
…and magnets were installed for connection to the spine. Evergreen Metal Siding (1 mm thick, .75 mm spacing) was used on the floor and 1 mm styrene sheet used for the rectangular ‘blocks’. The landing gear…
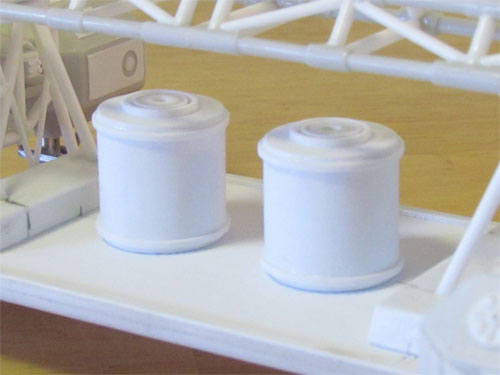
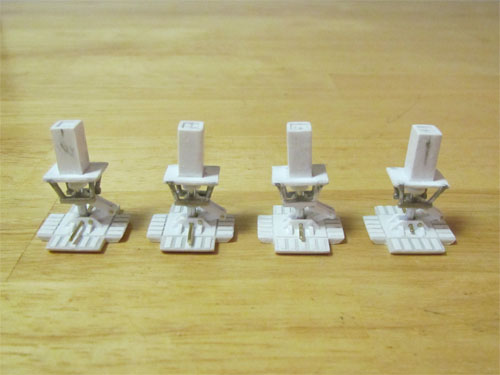
…is made up of various styrene tubes and rods (4 mm/3.2 mm tube and 2.5 mm rods) and 1 mm and .5 mm styrene sheet. Each foot is made to swivel with brass rod pins. A set of aluminum thrusters will be attached to the bottom when it’s all painted. I scratch built two Nuclear Waste Containers…
…using .5 mm and .3 mm sheet styrene glued around .5 mm top and bottom plates pieces. 11, 7.9 & 4 mm tubes were used for the top rings and 1 mm styrene strips for the raised bands.
I used the kit’s shoulder pods but removed the raised details and shortened them a couple of millimeters. The details on the kit’s parts are more representative of the Eagle 2 studio model so I replaced them with details seen on Eagle 1.
I also attached prongs for connection to the cages so they simply plug in with no need for glue, just like the original Eagle 1 studio model.
The landing gear…
…was scratch built and made to retract with the use of aluminum tubes and the footpads are made to swivel. The footpads are the one’s from the MPC kit with the details removed and replaced with Eagle 1’s details.
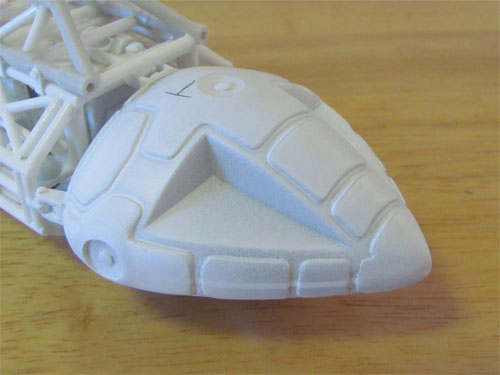
The MPC kit’s command module (CM) has a back piece made up of a couple of pieces of 1.5 mm styrene sheet with .3 mm styrene raised panels. 1 mm styrene was glued in between the top and bottom halves and 4 new brackets were added. The 4 sensor dishes were filled with putty and have 2 mm styrene rod glued into the centers to form the raised detail. The CM…
…is also removable with the use of magnets. In addition to the MPC kit’s CM I had a resin Small Art Works CM…
…in the stash that I decided to use as an alternate. I shortened the back by 5 mm’s and added the 4 brackets. A magnet was installed inside as I did with the MPC kit’s CM.
The last parts I had to make were the engine baffles, which were scratch built with .5 mm styrene and tubing for the raised details.
The Eagle has a unique hull color that involved doing some research which I’ll talk more about in the third and final installment as well as weathering and the decals…
Michael Scarola

